
Are you struggling with leaky pipe connections or planning a plumbing project that requires reliable, long-lasting joints? PPR pipe welding might be the solution you need. Unlike traditional connection methods that rely on adhesives or mechanical fittings, properly welded PPR pipes create a single, seamless system that can last for decades without leaking.
However, many DIY enthusiasts and even some professionals find the PPR pipe welding process intimidating. The good news? With the right tools, knowledge, and a bit of practice, you can master this essential plumbing skill and achieve professional-quality results. This comprehensive guide will walk you through everything you need to know about welding PPR pipes successfully.
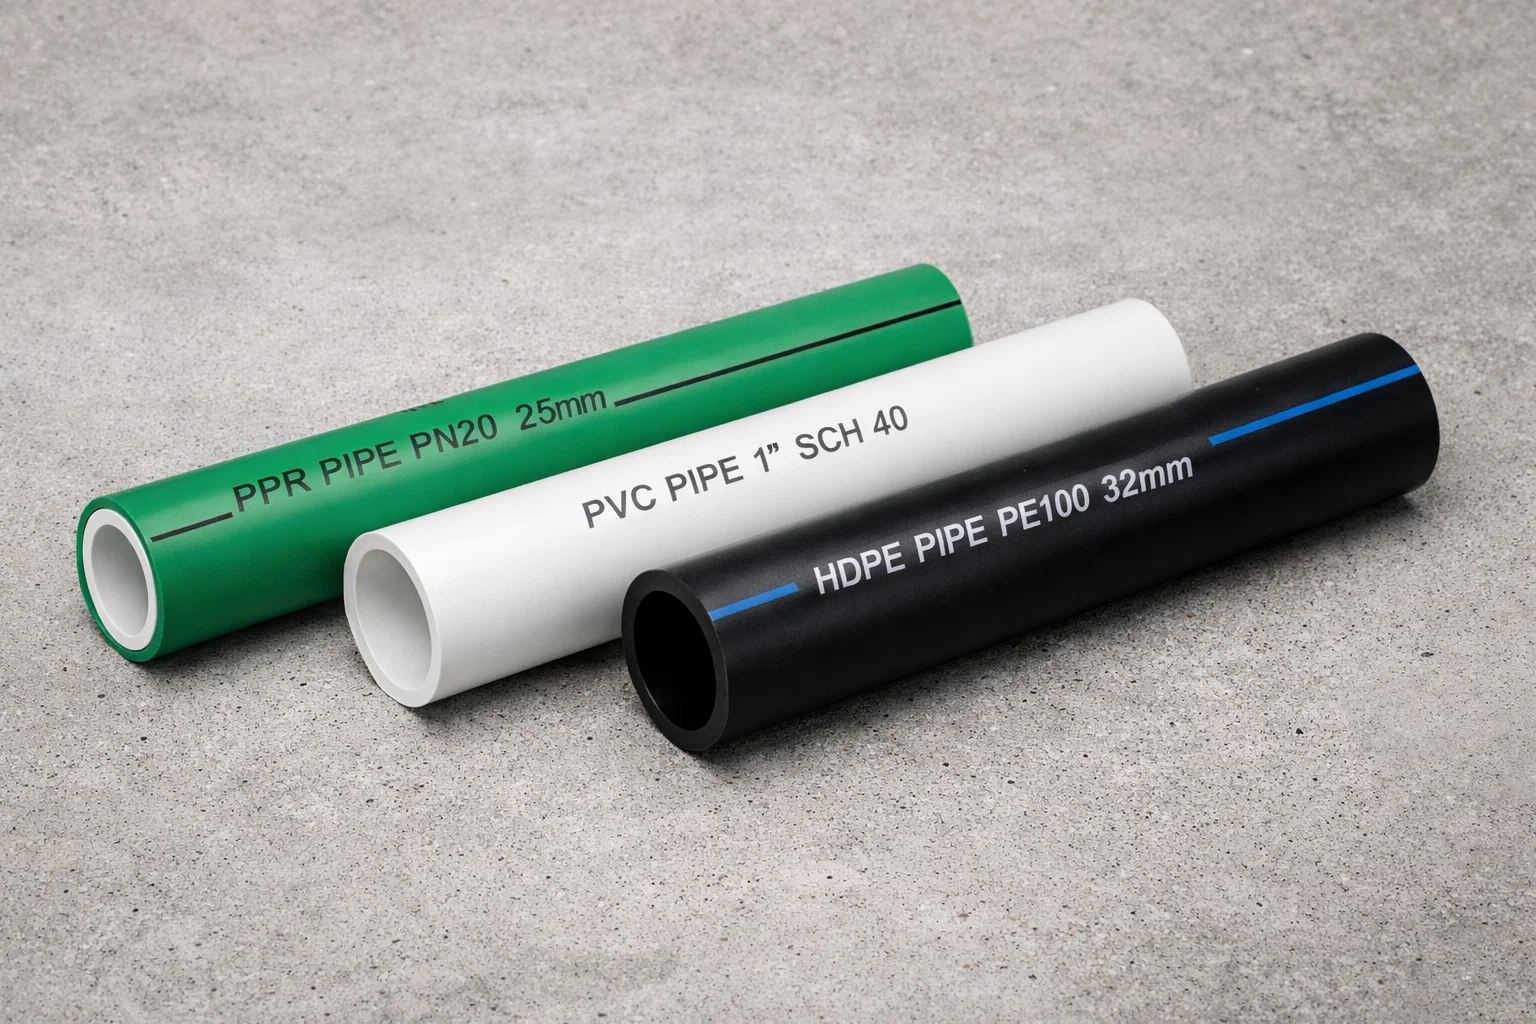
Before diving into the welding process, let’s understand what makes PPR pipes special. Polypropylene Random Copolymer (PPR) pipes are modern plumbing pipes made from thermoplastic material. Unlike PVC pipes, PPR pipes are specifically designed to be heat-welded rather than glued, creating molecular bonds between pipe sections.
PPR pipes offer several advantages over other piping materials:
These characteristics have made PPR pipes increasingly popular for residential and commercial plumbing systems worldwide. To learn more about their applications, check out why PPR pipe is used and how they compare to other piping materials for home plumbing.
Understanding how these pipes are manufactured can give you valuable insight into their properties. Read our detailed article on how PPR pipes are manufactured to deepen your knowledge.
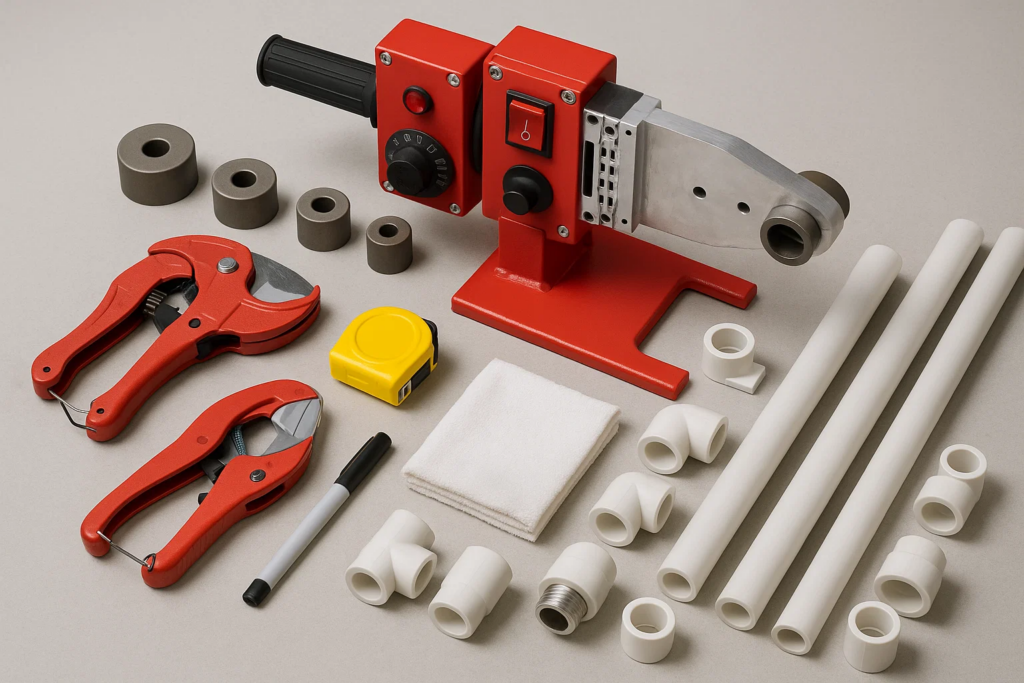
To successfully weld PPR pipes, you’ll need the following tools and materials:
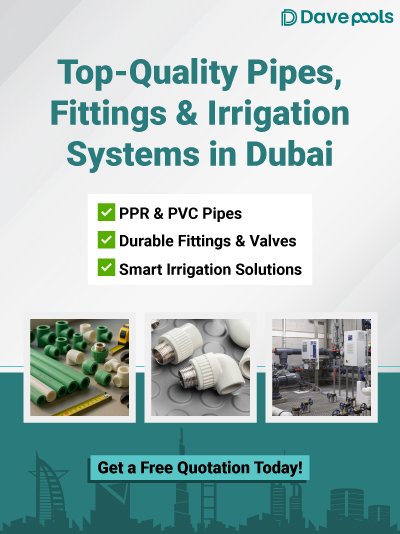
Quality matters when it comes to both tools and materials. For reliable PPR pipes and fittings in Dubai, consider checking out PPR pipes and fitting supplier in Dubai. Using high-quality components from reputable brands like Raktherm, Cosmoplast, or Hepworth ensures better results and longer system life.
For those working on swimming pool installations, proper pipe selection is crucial. Check our guide on types of swimming pool equipment to ensure you’re using the right materials for your project.

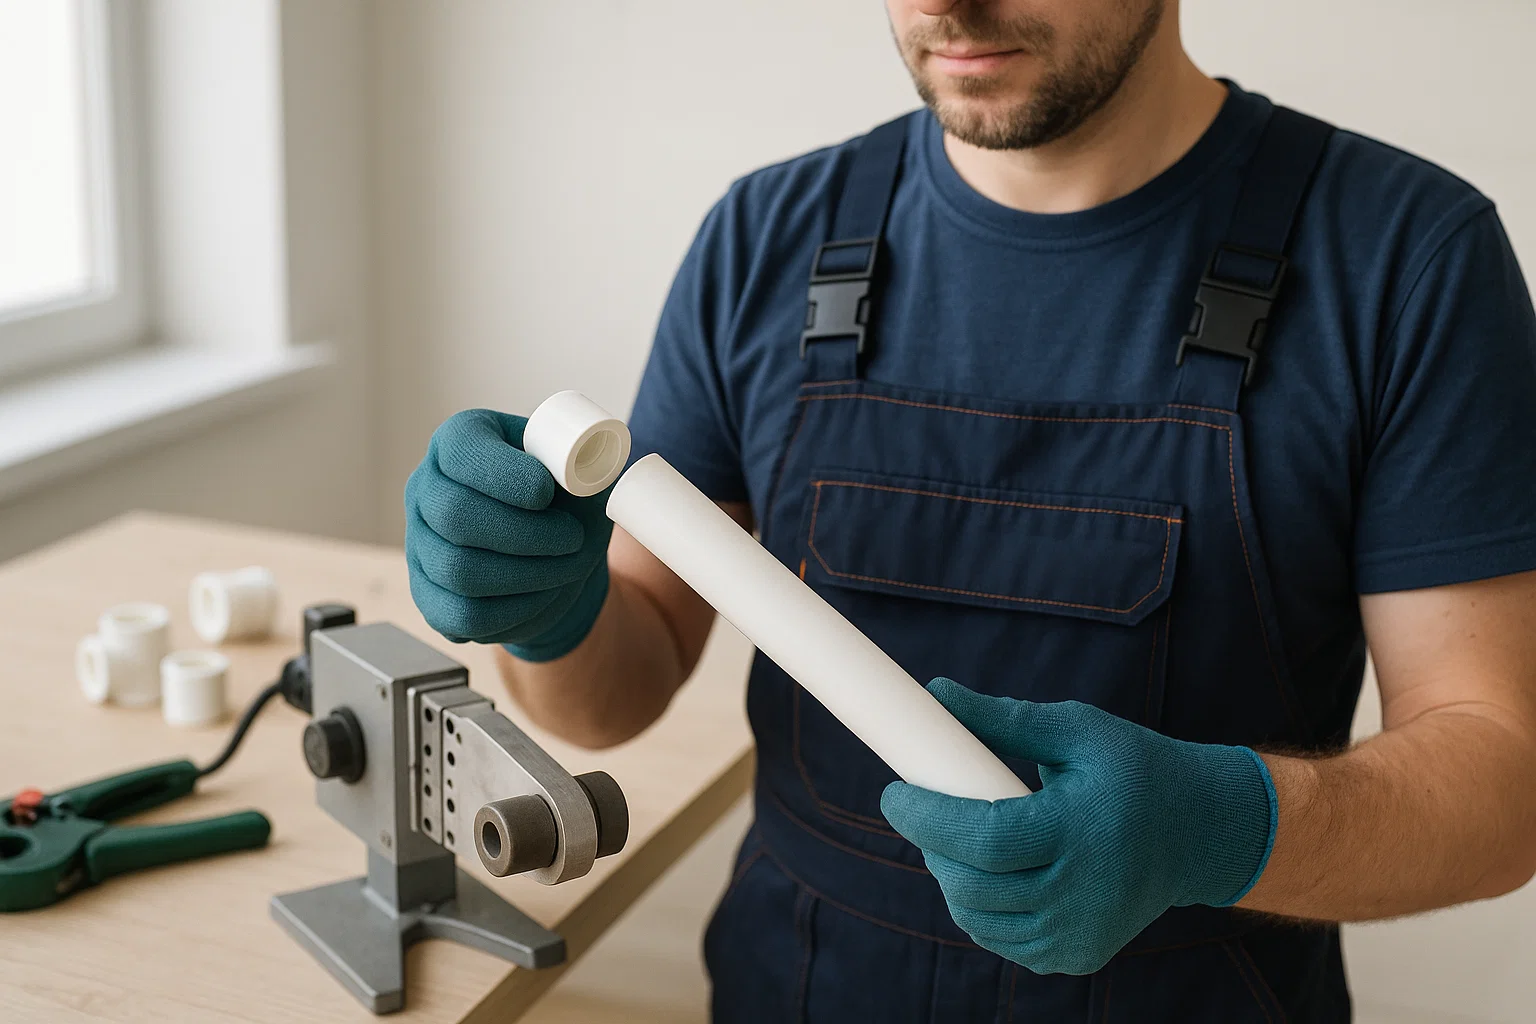
The PPR pipe welding process involves using heat to melt and fuse the pipe and fitting together at the molecular level. Here’s a detailed step-by-step guide:
Similar to cutting PVC pipes, precision is important. For techniques that apply to different pipe types, see our guide on how to cut PVC pipe.
Heating Time Table by Pipe Diameter:
| Pipe Diameter (mm) | Heating Time (seconds) | Cooling Time (minutes) |
|---|---|---|
| 20 | 5–6 | 2.5–3 |
| 25 | 7–8 | 3–4 |
| 32 | 8–10 | 4–5 |
| 40 | 12–14 | 5–6 |
| 50 | 18–20 | 6–6.5 |
| 63 | 24–30 | 6–8 |
For a more visual guide on how to connect PPR pipes, visit our detailed article on how to connect PPR pipes.
If you’re working with pipes in tight spaces, you might find our guide on how to remove stuck pipe fitting helpful for dealing with challenging installations.
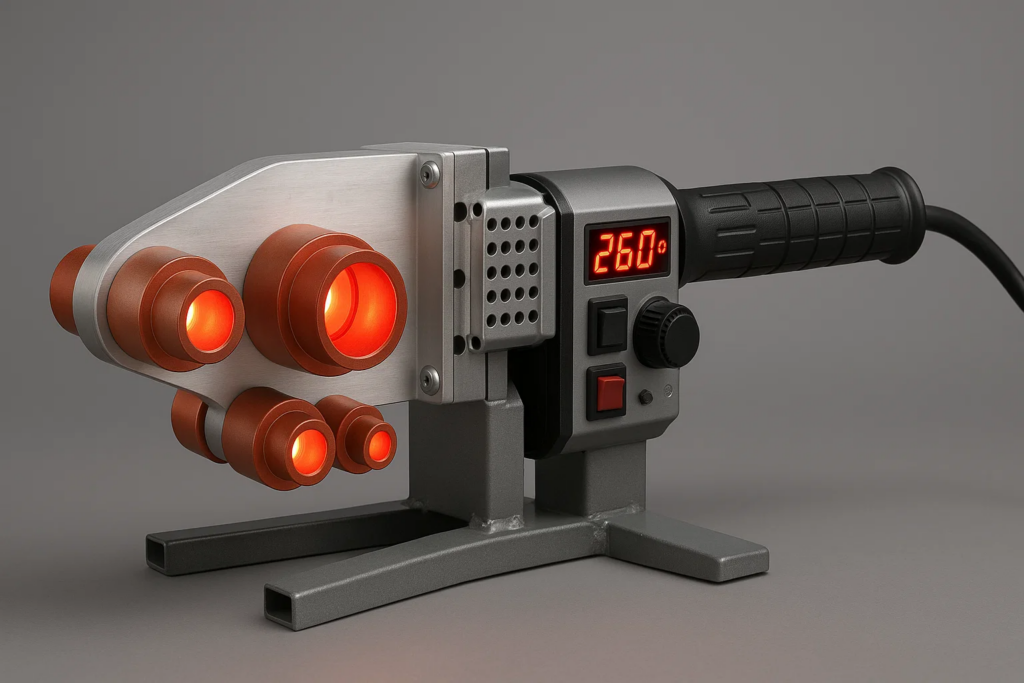
Knowing how to use PPR welding machine equipment properly is crucial for successful welds. Here’s a detailed breakdown:
PPR welding machines come in various types:
If you’re experiencing issues with water pressure in your piping system, the problem might not be with the welding but with other factors. Read our article on how to increase water pressure in a pipe for potential solutions.
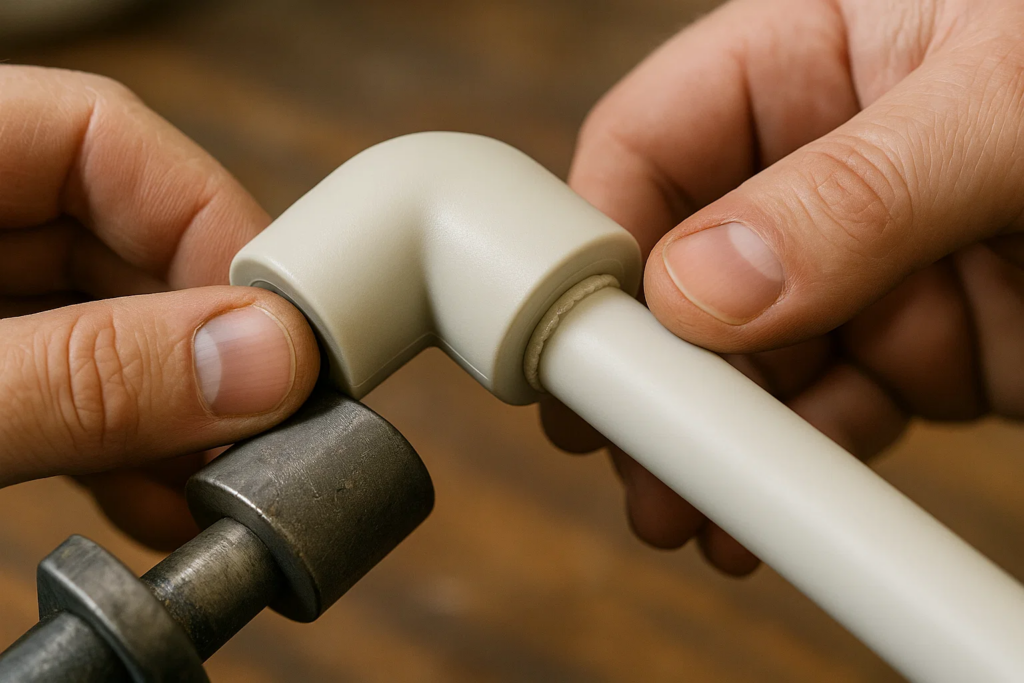
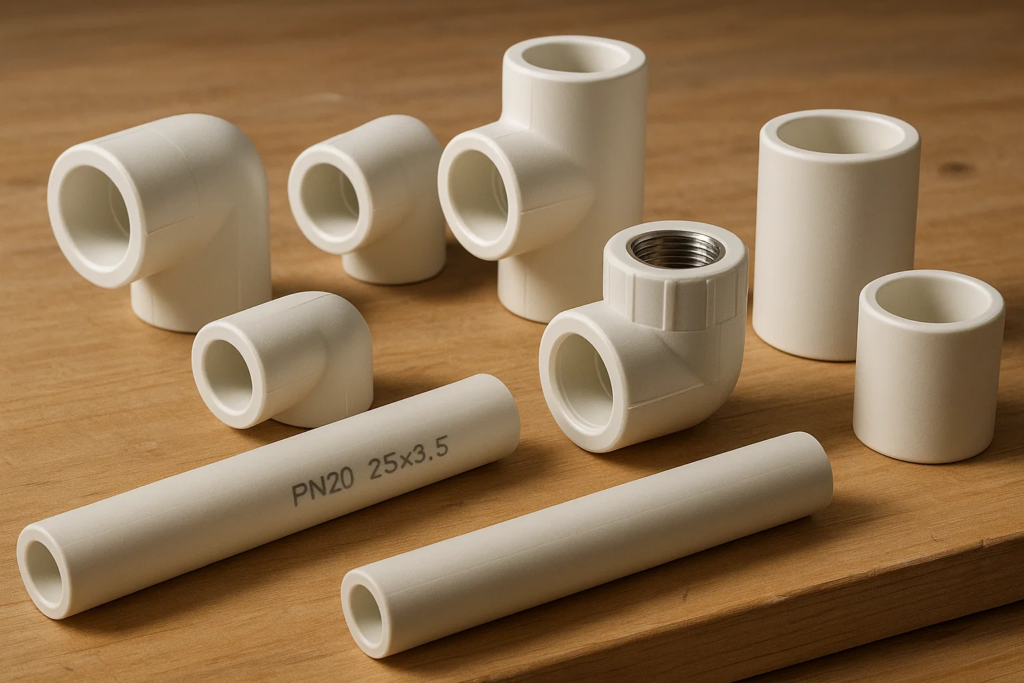
When it comes to how to weld PPR pipe fittings, the process requires some specific techniques depending on the fitting type:
For a comprehensive guide to the various fitting options available, check out our article on PPR pipe fitting types. If you’re connecting to different pipe systems, understanding thread sizes is important – see our guide on what thread size is 3/4 PVC fitting.
Even experienced plumbers sometimes make these errors when welding PPR pipes:
Understanding how to check for quality in your piping materials is also crucial. Learn more in our guide on how to check PVC pipe quality, as many of the same principles apply to PPR pipes.
Implement these tips for PPR pipe welding to achieve professional results:
Before working on your actual plumbing system, practice welding techniques on spare pipe sections. This helps you get comfortable with the timing and pressure required.
For assemblies with multiple connections, create a simple jig using wood blocks or clamps to hold components in alignment during cooling.
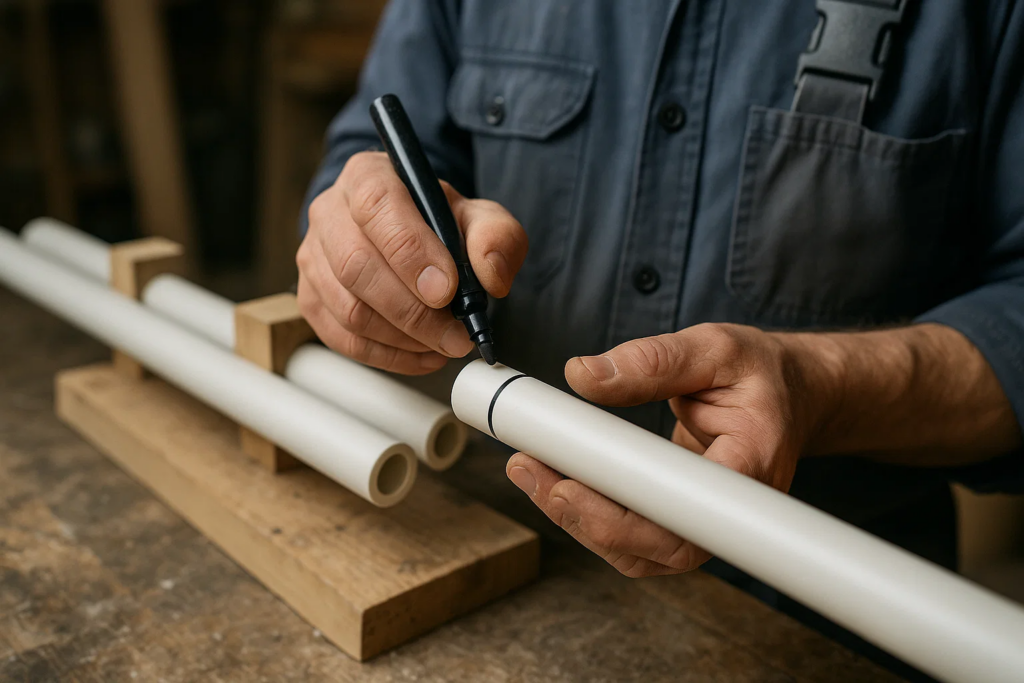
Use a marker to indicate how far the pipe should enter the fitting. This visual guide helps ensure consistent insertion depth.
Heating elements can occasionally fail. Having spares on hand prevents project delays, especially when working on time-sensitive installations.
In cold environments, slightly increase heating time by 1-2 seconds. In very hot environments, reduce heating time by the same amount.
When welding overhead sections, use temporary support clamps to hold the weight of pipes during cooling, preventing strain on fresh welds.
Map out your welding sequence before starting, working from the least accessible areas toward more accessible ones.
If you’re working on a plumbing system that will be underground, you might also be interested in learning how to find broken pipe underground to avoid future complications.
Even with careful technique, you might encounter these issues:
For repairs to existing systems, you might find our guide on how to patch PVC pipe useful, as some techniques can be adapted for PPR systems in emergency situations.
Safety should always be your priority when working with heating equipment:
For those working on pool installations, safety is particularly important. Consider reading our guide on how to maintain crystal clear pool water to understand how proper piping contributes to pool maintenance.
When properly welded, PPR pipe joints can last the entire lifetime of the piping system, typically 50+ years under normal operating conditions.
Yes, but you’ll need to adjust your technique. In temperatures below 5°C (41°F), preheat the pipe ends with warm air and increase heating time by 1-2 seconds. Protect fresh welds from cold drafts during cooling.
You shouldn’t directly weld different diameter pipes. Instead, use appropriate reducer fittings designed for transitioning between different pipe sizes. Check out our selection of various size high pressure pipe fittings for options.
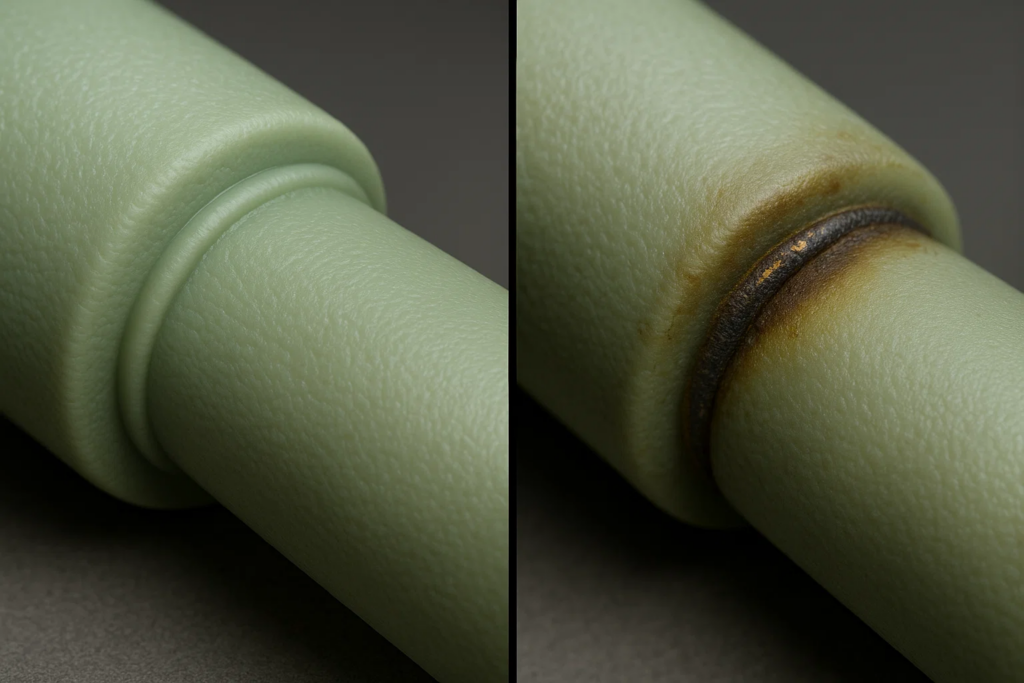
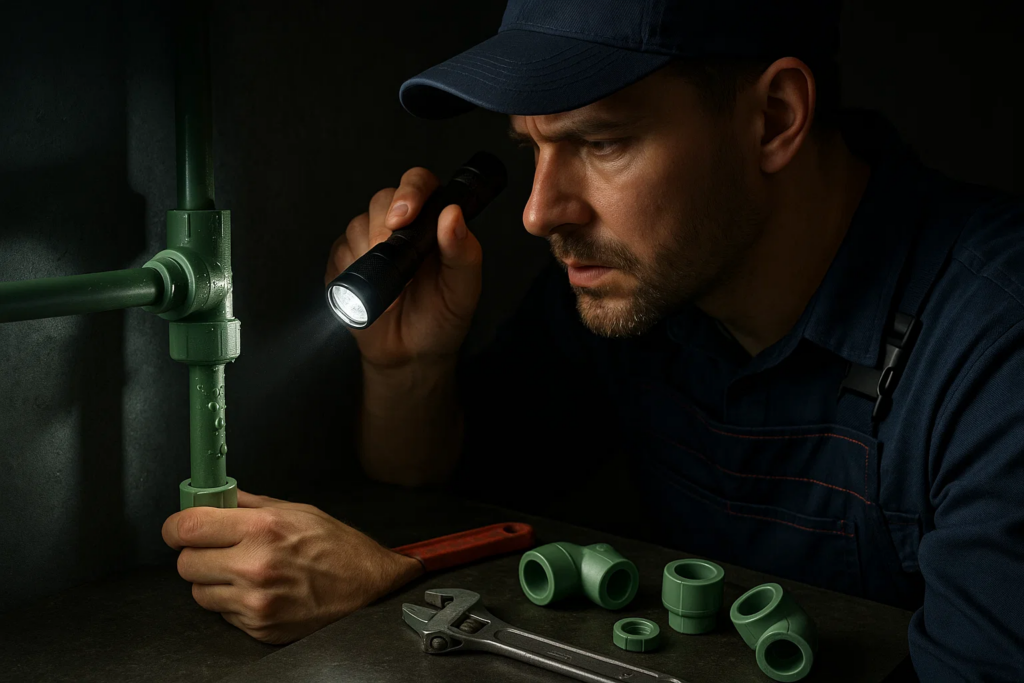
A good quality PPR weld will have a small, uniform bead around the joint circumference, no discoloration, and the pipe and fitting will be perfectly aligned. Pressure testing is the ultimate verification.
No, PPR cannot be directly welded to other materials. You must use appropriate transition fittings with threaded or compression connections. For more on material differences, see our article on difference between UPVC and CPVC pipes.
Wait at least 1 hour after completing the last weld before pressure testing. For critical applications, waiting 24 hours is recommended for optimal strength development.
This depends on the pipe’s PN rating. PN10 pipes typically withstand 10 bar (145 psi), while PN16 can handle 16 bar (232 psi). For more information, read about the difference between PN10 and PN16.
Unfortunately, bad welds cannot be repaired – they must be cut out and replaced with new pipe and fittings. This is why practicing proper technique is so important.
Allow at least 5 times the pipe diameter between fittings. For example, with 25mm pipe, maintain at least 125mm between fittings to ensure proper cooling and prevent stress concentration.
While PPR pipes have some flexibility, they should not be bent to replace proper fittings. Doing so creates stress points and compromises the system integrity. Always use the appropriate fittings for direction changes. Browse our 2-inch high pressure pipe fittings for common size options.
Mastering the art of PPR pipe welding opens up new possibilities for creating durable, leak-free plumbing systems for both residential and commercial applications. With the right tools, proper technique, and a bit of practice, you can achieve professional-quality results that will last for decades.
Remember that quality materials make a significant difference in your results. For premium PPR pipes and fittings in Dubai, explore our selection at davepools.com. If you’re comparing different piping options for your project, our article on which is better: PPR pipe or PVC pipe can help you make an informed decision.
By following the guidelines in this comprehensive guide, you’ll be well-equipped to handle your next plumbing project with confidence. Whether you’re a DIY enthusiast or a professional plumber, proper PPR pipe welding skills are a valuable addition to your repertoire.
For those working on more specialized projects, we also offer solutions for irrigation systems and equipment and water management solutions.
Ready to tackle your PPR pipe installation project? Browse our selection of high-quality PPR pipes and fittings to get started today!