
Installing a new plumbing system without proper testing is like building a house on sand. One hidden leak can cause thousands in water damage. Whether you’re working on residential plumbing, irrigation systems, or pool installations, knowing how to pressure test PVC pipe is absolutely critical before concealing any pipework.
The problem? Most DIY installers and even some contractors skip this crucial step, only to discover leaks weeks or months later when walls are closed and concrete is poured. The result? Costly repairs, water damage, and frustrated property owners who face expensive remediation work.
The solution is simple: A proper pressure test takes just 30 to 60 minutes and can save you from catastrophic failures. This comprehensive guide will walk you through every step of pressure testing PVC pipe systems, ensuring your installation is leak free and code compliant before any permanent work is completed.
Pressure testing is a critical quality control procedure that verifies the integrity of your PVC piping system before it goes into service. When you understand what PVC pipe is, you’ll know it’s designed to handle specific pressure ratings, but installation defects can compromise even the highest quality materials.
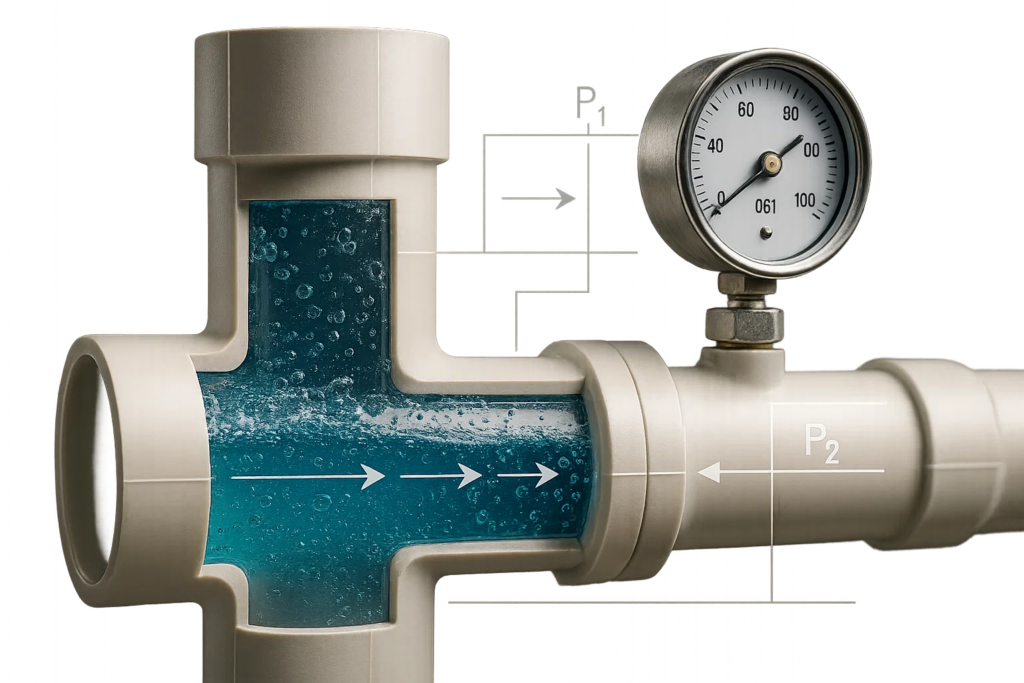
Pressure testing involves filling a completed pipe system with either water or air and pressurizing it to 1.5 times its rated working pressure for a specified duration. This process reveals any weaknesses in joints, fittings, or the pipe itself before the system is buried, enclosed, or put into permanent service.
Hydrostatic Testing (Water Based) The gold standard for most applications, hydrostatic testing uses water to pressurize the system. It’s more reliable than air testing because water is incompressible, making leaks immediately apparent. When you’re working with PVC pipes and fittings, water testing provides the most accurate results.
Pneumatic Testing (Air Based) Used when water isn’t practical, such as in freezing conditions or when systems must remain dry. However, air testing requires extra caution because compressed air stores energy that can cause dangerous explosions if pipes fail under pressure.
Skipping pressure tests isn’t just risky. It’s often a code violation that can void warranties and insurance claims. Here’s why this step is non-negotiable:
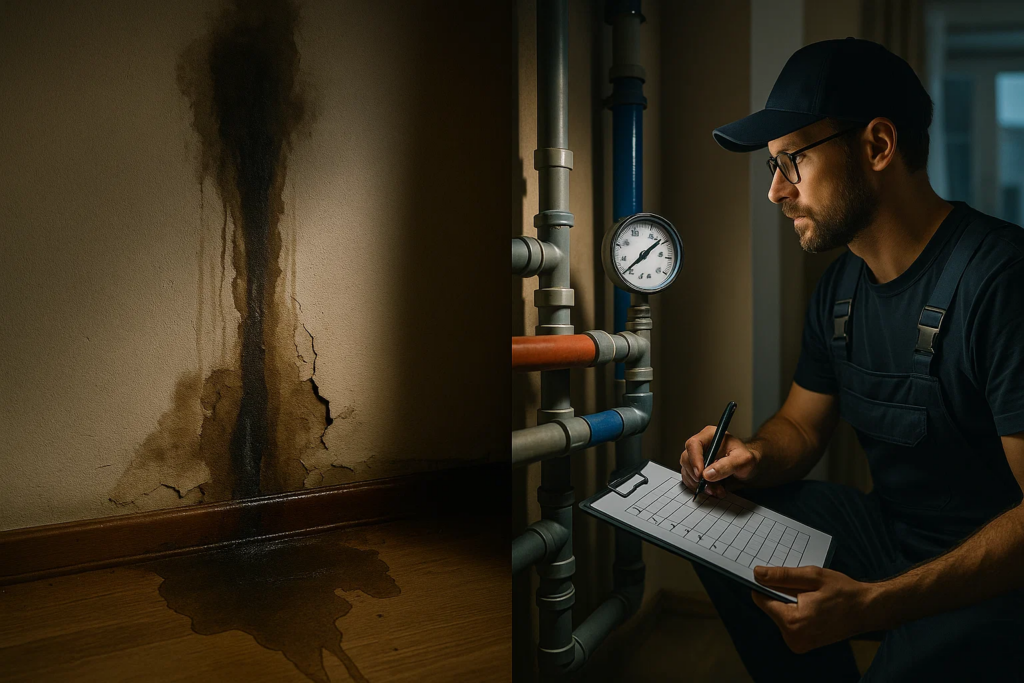
Discovering a leak after walls are closed or trenches are backfilled can cost 10 to 20 times more than fixing it during installation. When you properly glue PVC pipe, a pressure test confirms your work was done correctly.
Most building codes require pressure testing for new plumbing installations. Inspectors will fail installations that haven’t been properly tested, delaying project completion and potentially requiring expensive rework.
A single pinhole leak in a pressurized system can release hundreds of gallons per day. Whether you’re installing drainage pipes or potable water lines, pressure testing prevents future water damage that could destroy property and create health hazards.
Pressure testing exposes manufacturing defects, improper storage damage, or counterfeit materials. When working with a reputable PVC pipes manufacturer, quality materials should pass testing easily. If they don’t, you’ve identified a serious problem before it becomes catastrophic.
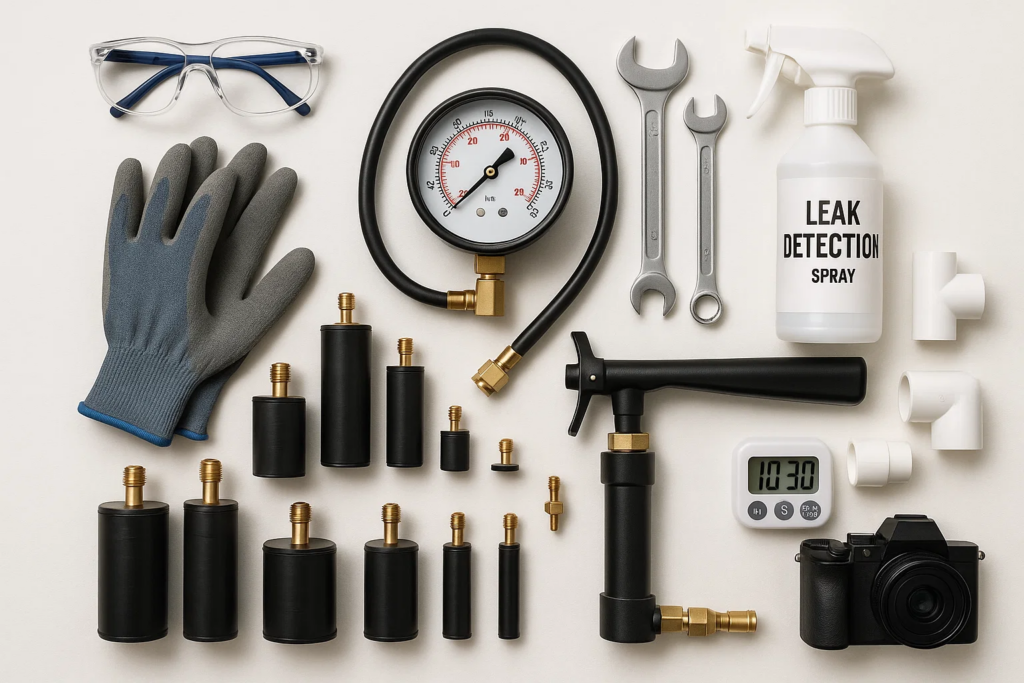
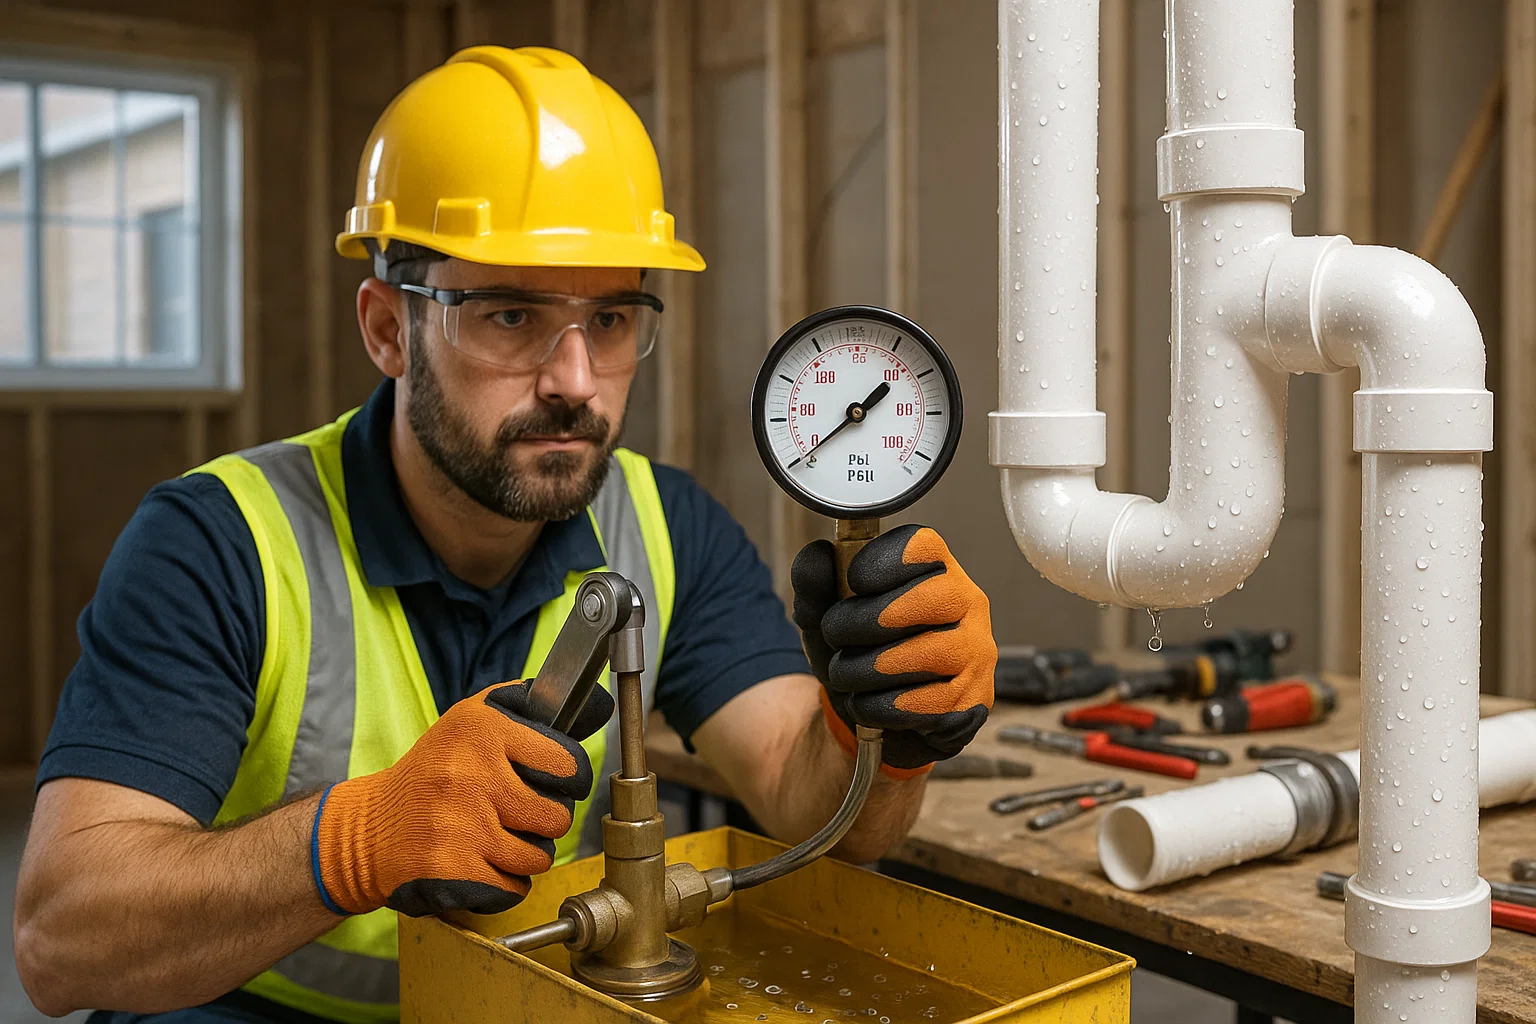
Proper preparation is half the battle when learning how to pressure test PVC pipe. Gather these essential tools before beginning:
Pressure Testing Pump
Pressure Gauge
Test Plugs and Caps
Safety Equipment
For Hydrostatic Testing:
For Pneumatic Testing:
Follow this proven methodology to conduct a professional grade pressure test on your PVC pipe installation:
1. Complete All Connections
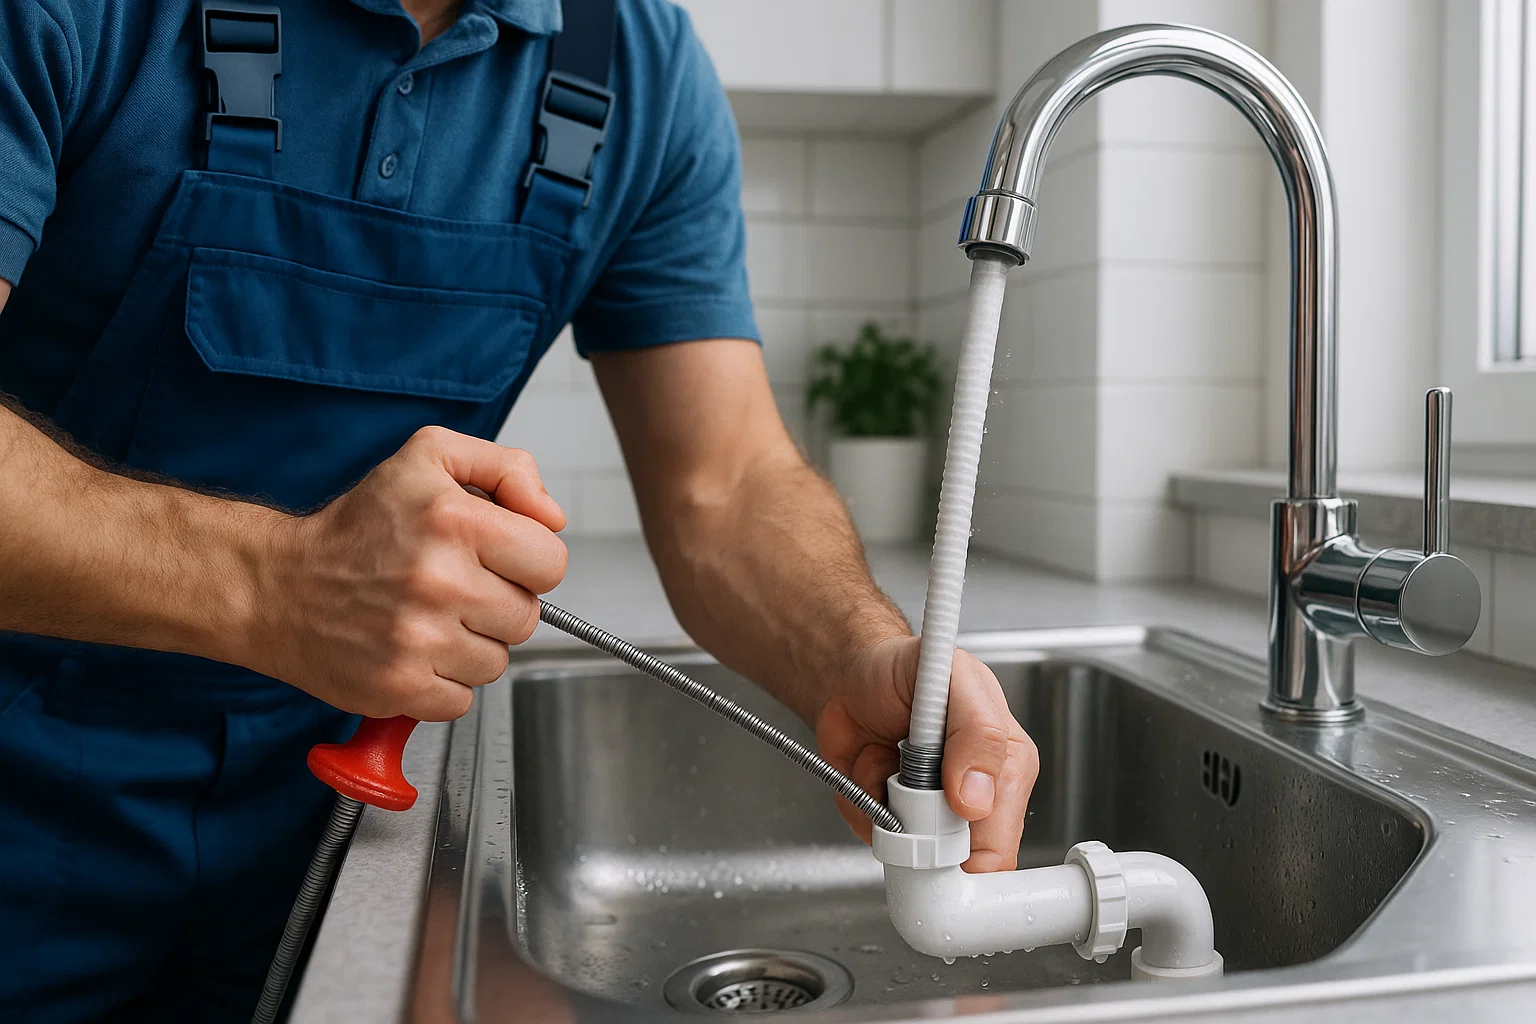
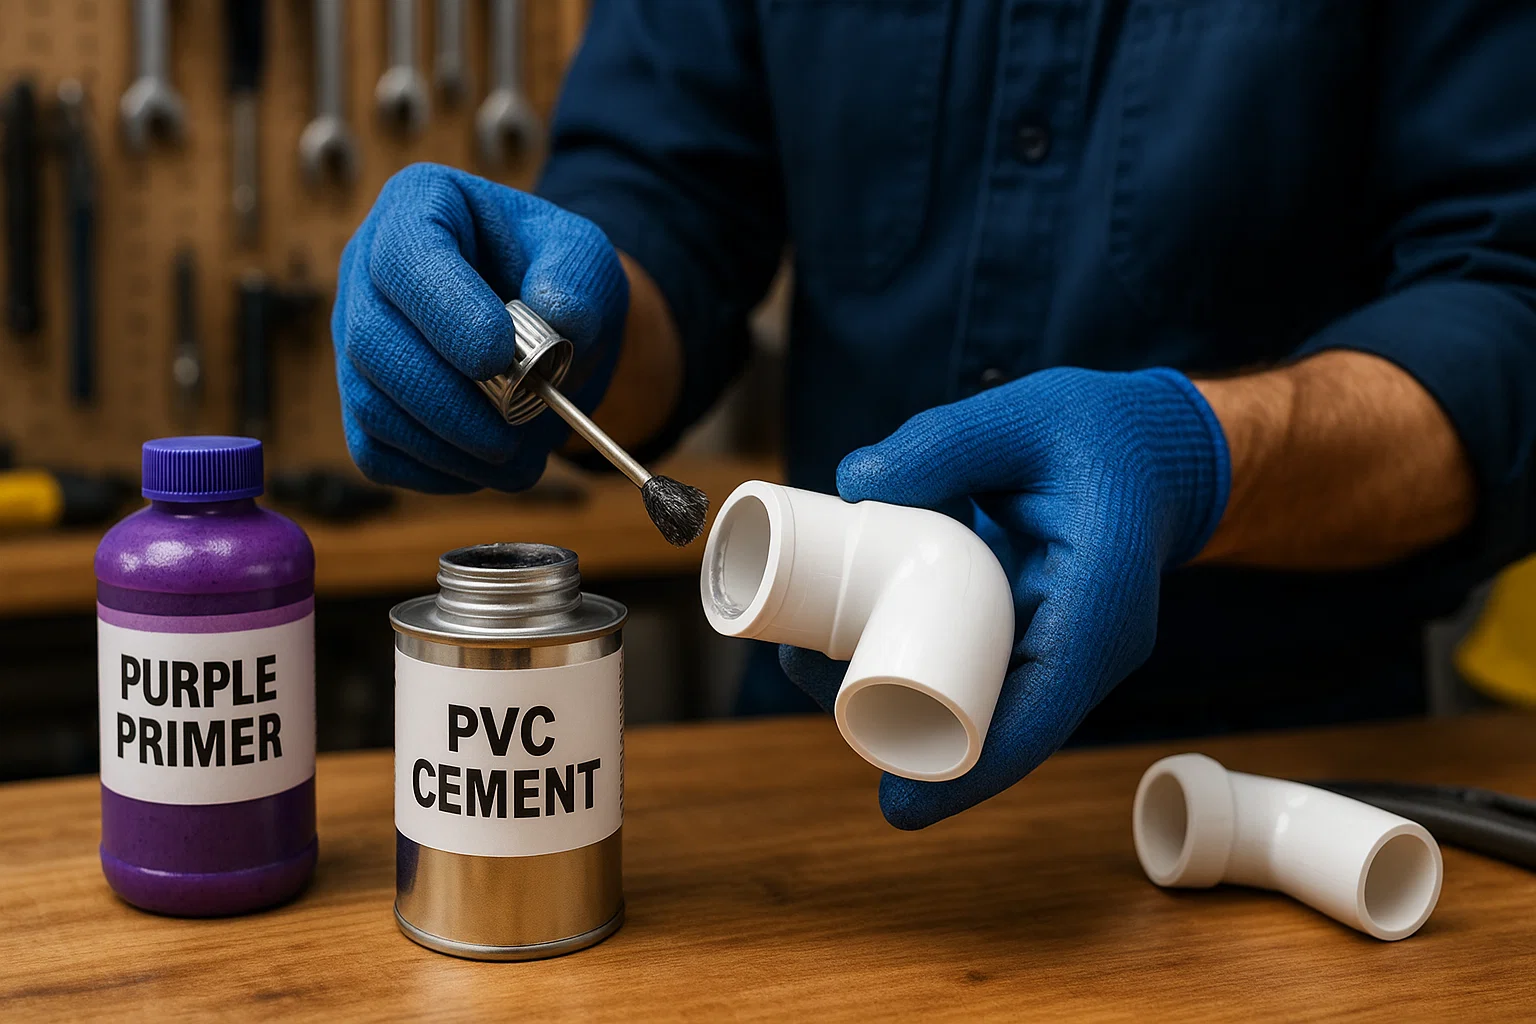
Ensure every joint is properly assembled. When you cut PVC pipe, make sure cuts are square and deburred. All solvent welded joints should cure for the manufacturer’s recommended time, typically 24 hours for pressure testing.
2. Install Test Plugs
Seal all system openings with appropriate test plugs. For HDPE pipes transitioning to PVC, ensure connection points are properly sealed. Use mechanical plugs for large diameter pipes and inflatable bladders for smaller lines.
3. Visual Inspection
Walk the entire system looking for obvious defects, missing supports, or potential weak points. Check that all PPR pipe connections (if used) are properly secured.
4. Support the System
Add temporary supports if needed, especially for longer horizontal runs. A water filled pipe can weigh significantly more than when empty.
For Hydrostatic Testing:
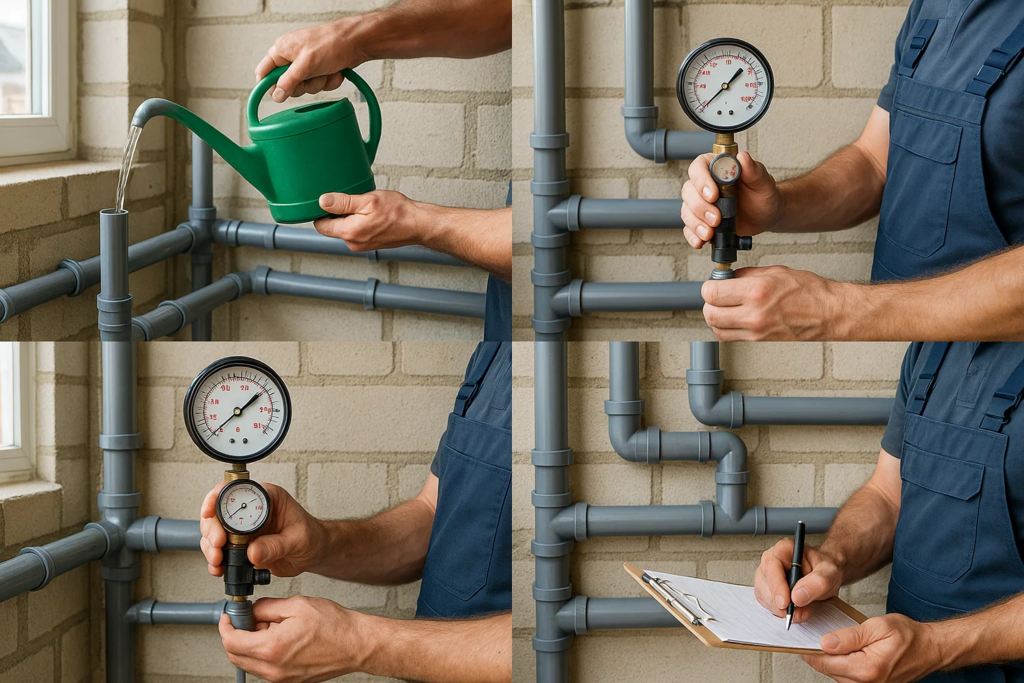
1. Fill from the Lowest Point Connect your water source to the lowest point in the system. This allows air to escape through higher openings as the system fills.
2. Purge All Air Fill slowly, opening valves at high points to release trapped air. Air pockets will give false pressure readings and can cause dangerous pressure spikes.
3. Check for Obvious Leaks As the system fills, watch for immediate leaks. Address any major leaks before pressurizing. Don’t waste time pressure testing a system that’s obviously compromised.
4. Close All Vents Once water appears at all high points and air is purged, close all vent valves. The system should now be completely filled with water.
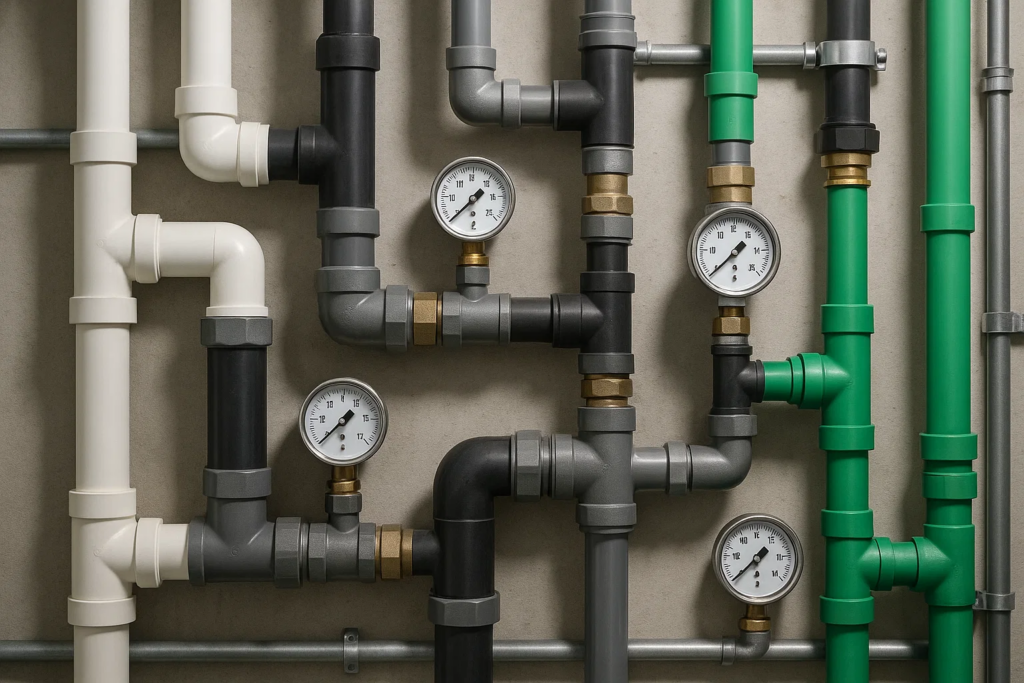
1. Connect Pressure Gauge Attach your calibrated pressure gauge and pump to the test connection point. Ensure all connections are secure and won’t leak during testing.
2. Gradually Increase Pressure Slowly pump the system to your target test pressure. For most residential PVC pipe systems, test at 1.5 times the working pressure or as specified by local code (typically 150 PSI for systems rated at 100 PSI working pressure).
3. Stabilize Pressure Allow 5 to 10 minutes for the system to stabilize after reaching test pressure. Temperature changes and material expansion can cause initial pressure fluctuations.
4. Document Initial Readings Record the exact pressure, temperature, and time. Take photos of the gauge reading for your records.
1. Monitor Pressure Drop
Observe the gauge for the specified test duration, typically 30 minutes for residential systems, up to 2 hours for commercial installations. Acceptable pressure drop is typically 5 PSI or less over the test period, but always verify against local code requirements.
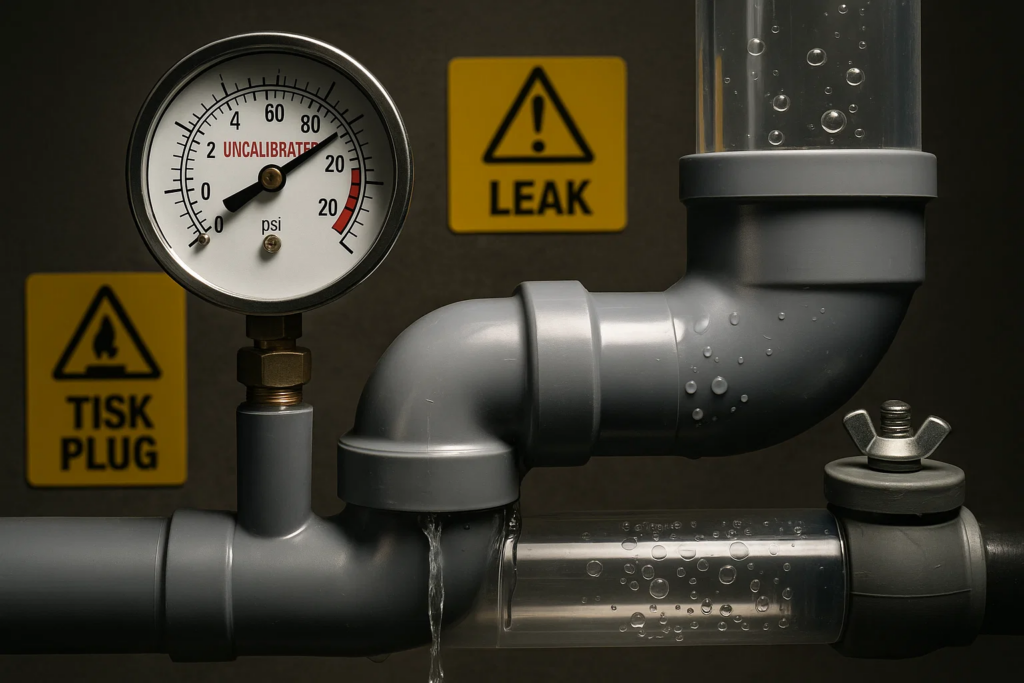
2. Inspect for Leaks
While maintaining test pressure, inspect all joints and connections. Look for:
For systems using CPVC pipes, pay special attention to joints where different materials connect.
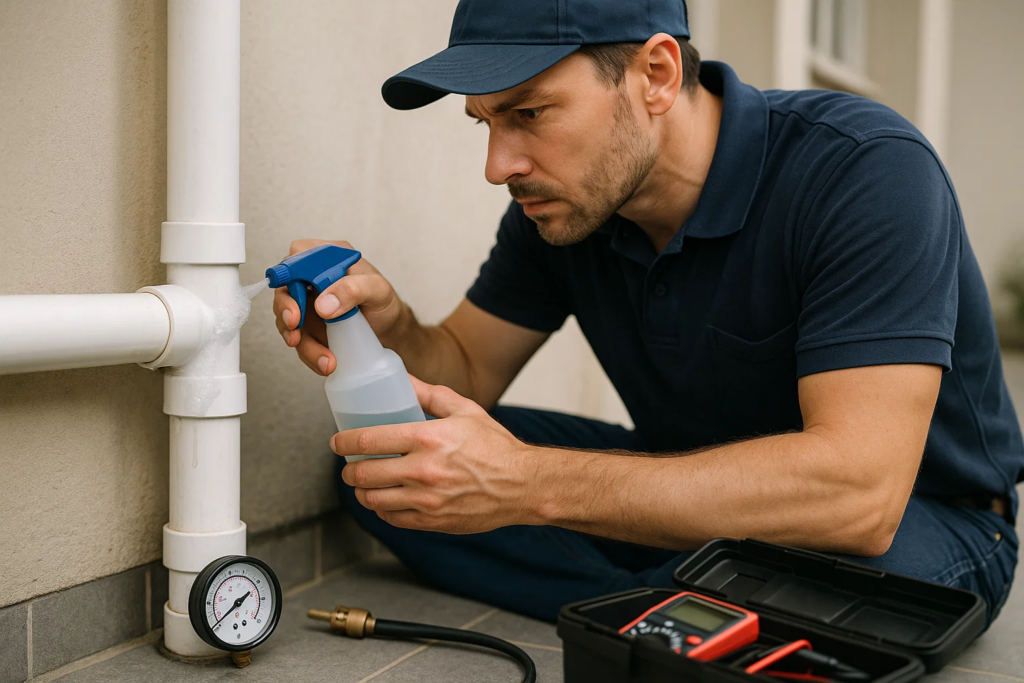
3. Use Leak Detection Methods
For pneumatic tests, apply soapy water to all joints. Bubbles indicate leaks. For hydrostatic tests, mark suspicious areas with a permanent marker for closer inspection.
1. Record Final Readings
Document the final pressure after the hold period. Calculate the total pressure drop and verify it’s within acceptable limits. When testing irrigation systems, remember that larger systems may have slightly higher acceptable pressure losses.
2. Pass or Fail Determination
Pass Criteria:
Fail Criteria:
3. Depressurize Safely
Slowly release pressure through a controlled valve. Never remove test plugs while system is pressurized. Sudden depressurization can cause dangerous projectiles.
4. Drain the System
For hydrostatic tests, drain water completely before removing test plugs. Open low point drains and ensure all water is removed from the system.
Even experienced installers can make errors that compromise pressure test results. Avoid these frequent pitfalls:
The mistake: Testing solvent welded joints before proper cure time. The consequence: Joints may initially hold pressure but fail in service. After you apply PVC glue (or if you need to remove it), always allow full cure time before testing, typically 24 to 48 hours depending on temperature and humidity.
The mistake: Failing to completely purge air before pressurizing. The consequence: False pressure readings and potentially dangerous air compression. Air pockets can mask leaks and cause erratic gauge behavior.
The mistake: Testing at working pressure instead of test pressure. The consequence: Marginal defects won’t be revealed, leading to in service failures. Always test at 1.5 times working pressure unless code specifies otherwise.
The mistake: Testing during significant temperature swings. The consequence: Thermal expansion or contraction causes pressure changes unrelated to leaks. Conduct tests during stable temperature periods, typically early morning or late evening.
The mistake: Not recording test parameters and results. The consequence: No proof of testing for inspections, and no reference for future troubleshooting. Always maintain detailed test records with photos.
The mistake: Testing with uncalibrated or damaged pressure gauges. The consequence: Inaccurate readings leading to false passes or unnecessary retesting. Verify all test equipment is in good condition and properly calibrated.
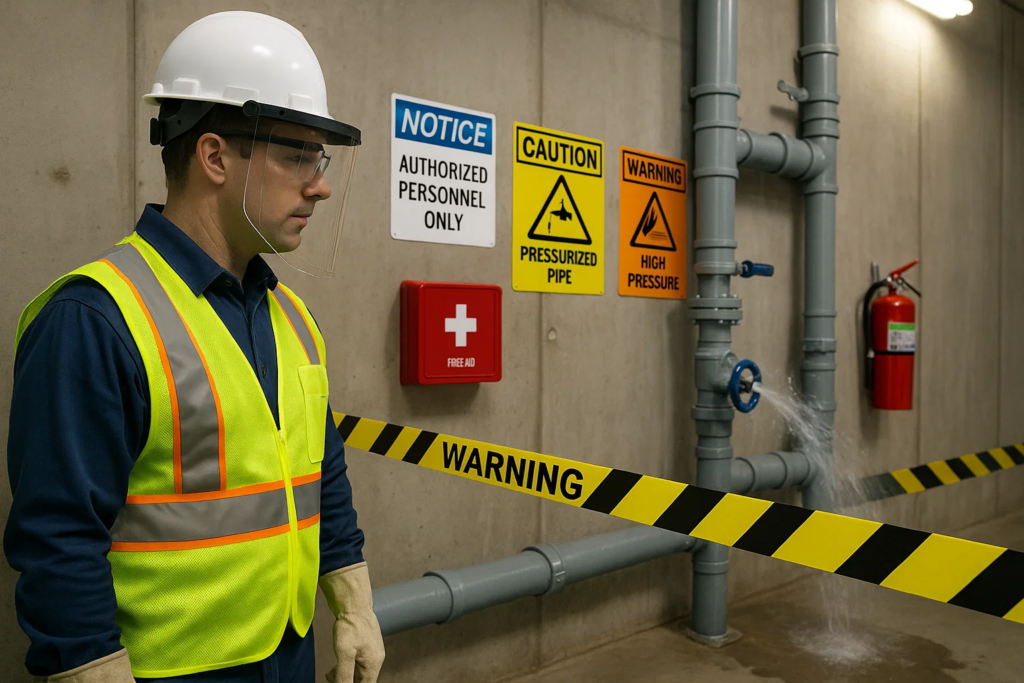
Pressure testing involves significant stored energy that can cause serious injury if not properly controlled. Follow these safety protocols without exception:
1. Personal Protective Equipment (PPE)
2. Pressure Limits Never exceed the pipe’s rated pressure during testing. While test pressure should be 1.5 times working pressure, it should never exceed the pipe’s maximum rated pressure. Check different types of pipes for their specific ratings.
3. Clear the Test Area Establish a safety perimeter around the test area. Never allow people to stand near pressurized pipes. A failed pipe or fitting can become a dangerous projectile.
Water Weight Considerations A 4 inch pipe filled with water weighs approximately 0.65 pounds per foot. Large systems can weigh thousands of pounds when filled. Ensure adequate support.
Cold Weather Precautions Never conduct hydrostatic tests when freezing is possible. Frozen water can rupture pipes and create dangerous ice projectiles.
Air Testing is Dangerous Compressed air stores significantly more energy than water at the same pressure. A failed pipe or fitting can explode with lethal force. Many jurisdictions prohibit or strictly regulate pneumatic testing for this reason.
Maximum Air Pressure If pneumatic testing is required, never exceed 50 PSI and work under compressed air safety protocols. Use appropriate regulators and never approach the system while pressurized.
Emergency Procedures Have a clear emergency plan including:
When a pressure test fails, systematic troubleshooting helps identify and resolve issues efficiently:
Rapid Pressure Drop (more than 10 PSI in 10 minutes) Indicates a major leak, usually a missed connection, cracked pipe, or improperly installed fitting. Inspect all joints, especially areas where PPR pipes connect to PVC systems.
Slow, Steady Pressure Drop Suggests minor leaks or weeping joints. Systematically inspect every connection, starting with the most recently installed. Look for moisture at joints, even if water isn’t actively dripping.
Irregular Pressure Fluctuations Usually indicates trapped air, temperature changes, or gauge problems. Re-check your fill procedure and consider testing during more stable temperature conditions.
Visual Inspection Techniques
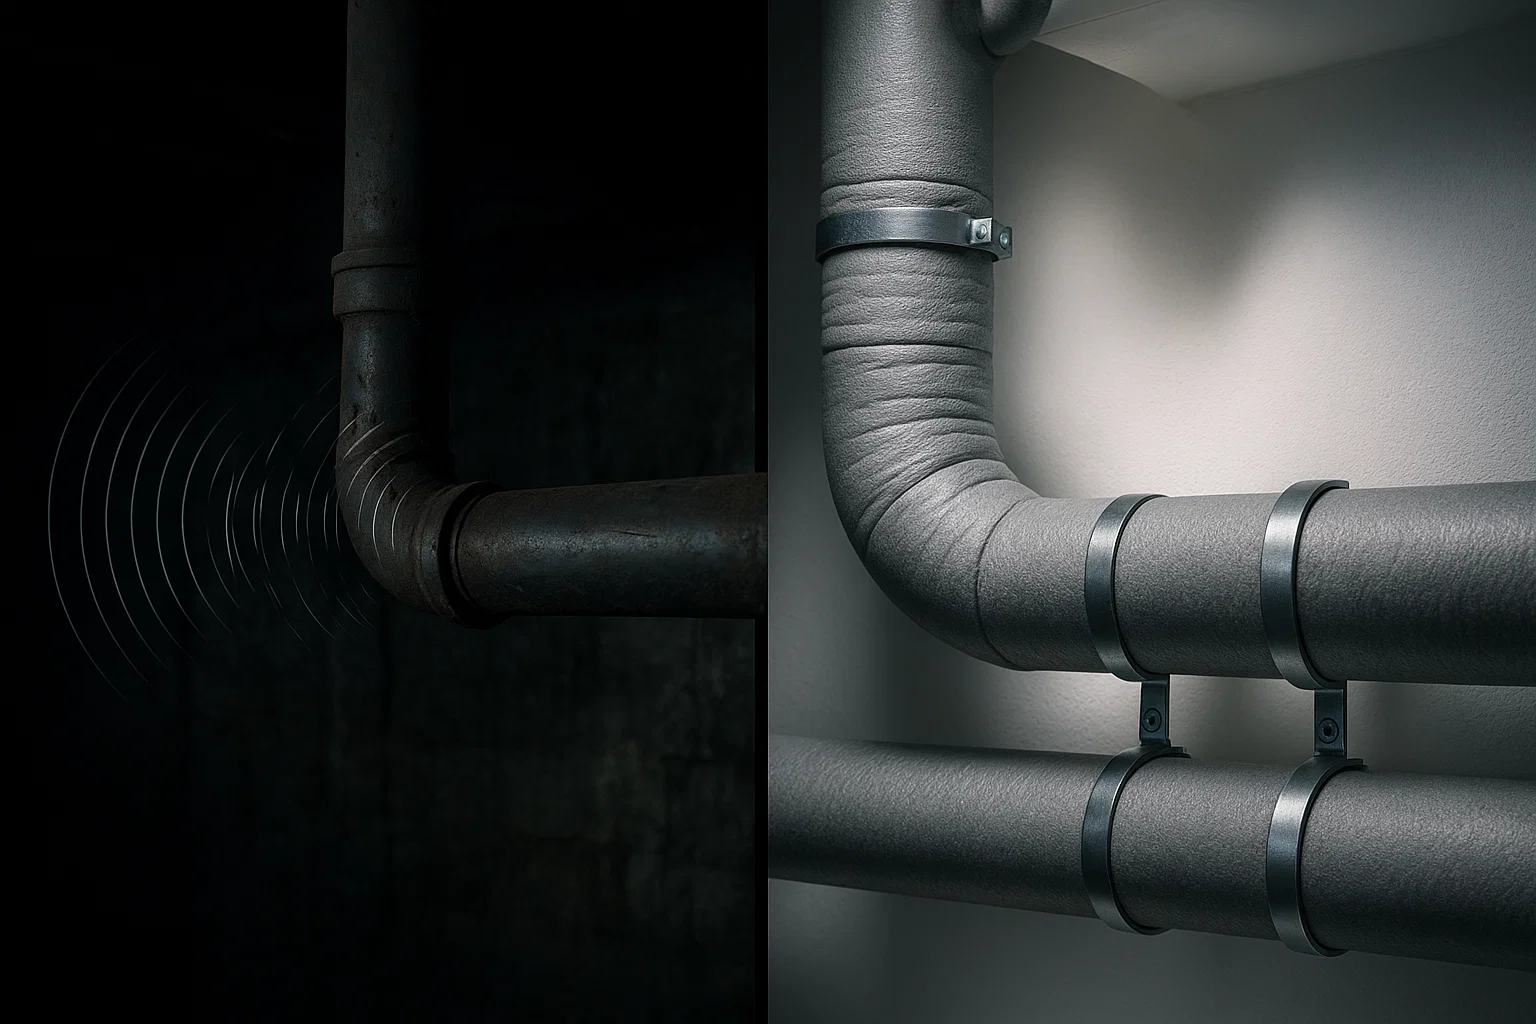
Sound Detection Pressurized leaks often produce a hissing sound. In quiet environments, you can hear leaks before seeing them.
Isolation Testing For large systems, isolate sections with valves to narrow down leak locations. Test each section independently until you find the problem area.
Common Fixes:
Leaking Solvent Welded Joints Cannot be repaired and must be cut out and replaced with new pipe and fittings. Learn proper gluing techniques to prevent recurrence.
Leaking Threaded Connections Disassemble, clean threads thoroughly, apply fresh thread sealant or tape, and reassemble with proper torque.
Cracked or Damaged Pipes Replace the entire damaged section. If repairing a leak, don’t use temporary patches. Only permanent replacement is acceptable for pressure systems.
Retesting Protocol: After repairs, drain the system, allow proper cure time for any new joints, and conduct a complete retest following the full procedure. Never skip steps or use shortened test durations. Repairs must pass the same rigorous testing as original installation.
When your system includes multiple materials, understanding their properties is crucial:
PVC vs. CPVC Testing CPVC pipes require the same testing pressures as PVC, but pay special attention to temperature. CPVC can handle hot water while PVC cannot.
Hybrid Systems Systems incorporating HDPE, PPR, or UPVC pipes require testing at the lowest rated component’s pressure. Test at the weakest link’s specifications.
Different jurisdictions and applications have varying requirements:
Residential Plumbing
Commercial Installations
Pool and Spa Systems When testing swimming pool equipment connections, verify all requirements with your pool system provider and local pool codes.
High Pressure Valve Systems PVC high pressure valves require special attention during testing. Verify all valve positions are appropriate for testing and that pressure doesn’t exceed valve ratings.
Irrigation Systems Irrigation equipment often operates at lower pressures but over larger areas. Test pressure should still follow the 1.5 times rule, but may be lower overall (for example, 100 PSI test for systems operating at 60 to 70 PSI).
Drainage Systems While drainage pipes typically operate at atmospheric pressure, some codes require testing, especially for systems that might experience pressure surges.
Allow Proper Settling After a successful pressure test, allow the system to stabilize for 24 to 48 hours before permanent covering or burial. This reveals any delayed failures.
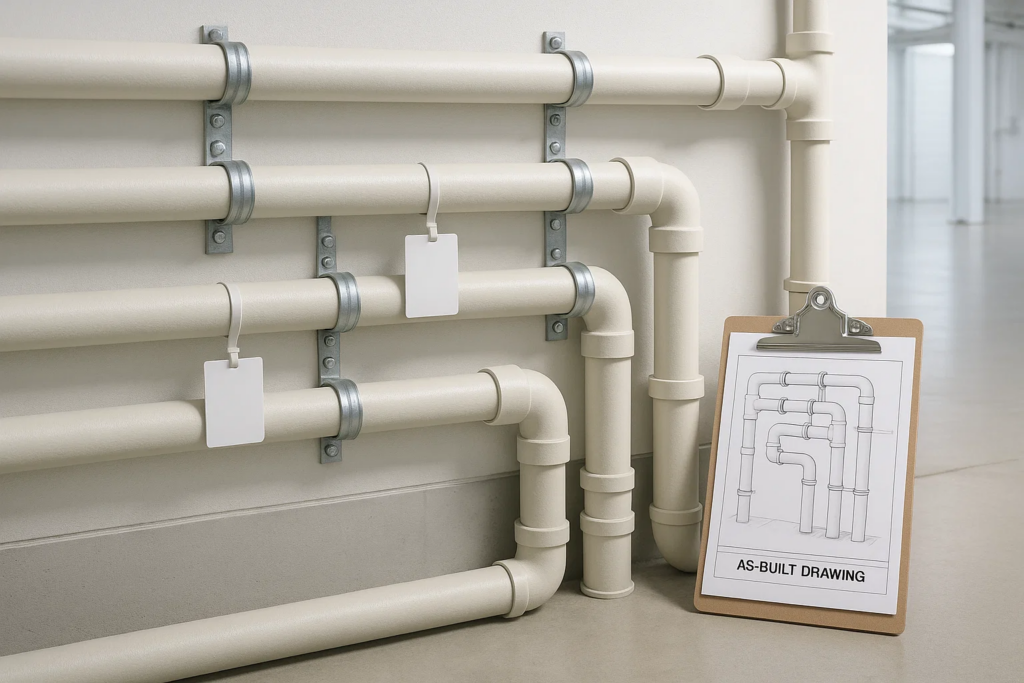
Documentation and Marking Photograph the tested system and create an as built drawing showing all pipe routes. This aids future maintenance and prevents accidental damage during renovations.
Protect from UV Damage If PVC pipes will be exposed to sunlight, ensure they have UV stabilizers or protective coatings. Learn more about keeping PVC pipe stable in various conditions.
Periodic Retesting Consider annual pressure tests for critical systems, especially in commercial applications or where system integrity is safety critical.
After Repair Verification Any time system repairs are made, conduct a localized pressure test before restoring the system to service. When you repair a leak, always verify the fix with pressure testing.
Seasonal Considerations For systems subject to freezing, conduct tests in early fall before cold weather and again in spring after freeze thaw cycles.
Solvent welded PVC joints typically require 24 to 48 hours to cure sufficiently for pressure testing. Cure time varies with temperature, humidity, and pipe size. At 60°F, small pipes (under 2 inches) may cure in 24 hours, while larger pipes (4 inches and above) require 48 hours or more. Cold or humid conditions extend cure time. Always follow manufacturer recommendations and err on the side of caution.
Standard test pressure is 1.5 times the system’s working pressure for 30 minutes to 2 hours depending on application and local codes. For residential plumbing typically operating at 80 to 100 PSI, test at 150 PSI. Commercial systems operating at higher pressures should be tested accordingly. Never exceed the pipe’s maximum rated pressure rating, even during testing.
Air testing is possible but significantly more dangerous due to stored energy in compressed air. Water is incompressible and releases energy slowly if failures occur, while compressed air can cause violent explosions. If air testing is necessary (such as in freezing conditions), limit pressure to 50 PSI maximum, use all appropriate safety equipment, clear the area of personnel, and follow compressed air safety protocols strictly.
Most codes allow a maximum pressure drop of 5 PSI over the testing period for residential systems. Commercial installations may have stricter requirements (2 to 3 PSI). Temperature changes can cause legitimate pressure variations. A 10°F temperature change can cause 5 PSI pressure change in a water filled system. Conduct tests during stable temperature conditions for most accurate results.
Several factors can cause pressure loss beyond obvious leaks: trapped air that’s slowly escaping through vents or connections; temperature changes causing system contraction; water absorption into pipe walls (normal for new pipes); faulty pressure gauge giving inaccurate readings; micro leaks too small to see initially; or leaks at buried or concealed connections not visible during inspection. Systematic isolation testing helps identify hidden problem areas.
Fill the system slowly from the lowest point and open all high point vents. As water rises, air escapes through upper openings. Use automatic air vents at high points if available. For complex systems with multiple levels, fill in stages, closing lower vents as you progress upward. Rock or tap pipes gently during filling to dislodge trapped air bubbles. Don’t begin pressurizing until water flows from all high point vents.
Stable temperatures between 50 to 80°F provide most accurate results. Avoid testing during extreme temperature swings, direct sunlight, or when ambient temperatures differ significantly from ground temperature. Early morning or late evening tests often provide the most stable conditions. For every 10°F temperature change, expect approximately 5 PSI pressure change in a water filled system due to thermal expansion or contraction.
Large diameter pipes (6 inches and above) require specialized equipment including high volume pumps to fill systems in reasonable time, heavy duty test plugs rated for larger openings, additional temporary supports to handle water weight (a 6 inch pipe holds approximately 1.5 gallons per foot), and potentially multiple test points for comprehensive coverage. Consider professional testing services for commercial large diameter installations exceeding DIY capabilities.
Mastering how to pressure test PVC pipe is essential for any plumbing installation, whether you’re working on residential water lines, commercial applications, irrigation systems, or pool plumbing. The 60 to 90 minutes invested in proper pressure testing can prevent thousands of dollars in water damage, failed inspections, and costly repairs down the road.
Remember these key points:
Whether you’re working with standard PVC pipes, specialized materials like PPR, or complete irrigation systems, the principles of thorough pressure testing remain the same. Take your time, follow each step methodically, and ensure every connection is verified before your system goes into service.
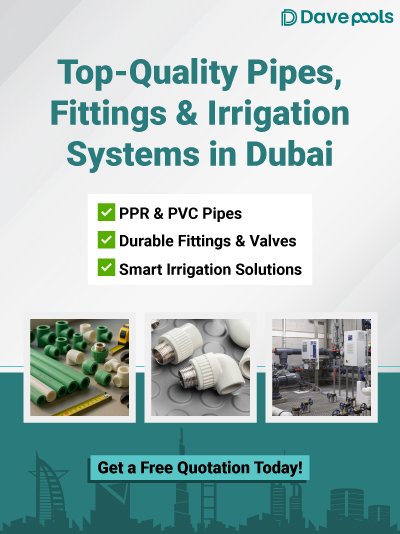
For quality pipes, fittings, and professional support in Dubai, Dave Pools offers comprehensive solutions backed by expertise in pipe systems. Our team can guide you through material selection, installation best practices, and testing protocols to ensure your project’s success from start to finish.