Waking up at 3 AM to the sound of clanging pipes can turn your peaceful home into a nightmare. Those persistent banging, rattling, and hammering sounds from your plumbing system aren’t just annoying—they signal potential damage that could cost thousands in repairs. Without proper soundproofing, these noises will only worsen, disrupting sleep, lowering property value, and creating stress for your entire household. This comprehensive guide reveals seven proven methods to soundproof noisy pipes, helping you restore peace and protect your plumbing investment.

Before implementing soundproofing solutions, understanding the root cause of pipe noise is crucial. Plumbing systems create various sounds due to water flow dynamics, pressure changes, and structural vibrations. The most common culprits include water hammer (sudden pressure spikes), loose mounting brackets, high water pressure, and pipe expansion from temperature changes.
Modern plumbing systems use different materials like PVC pipes, PPR pipes, and HDPE pipes, each producing distinct noise signatures. Metal pipes typically amplify sound more than plastic alternatives, while drainage pipes often create gurgling sounds due to air flow issues.
Key Noise Factors:

The most notorious pipe noise occurs when water flow stops abruptly, creating a loud banging sound. This hydraulic shock can damage pipe fittings and fixtures over time. Fast-closing valves, washing machines, and dishwashers commonly trigger water hammer.
Loose pipes vibrating against walls, joists, or other pipes create persistent rattling noises. This issue intensifies when water flows through the system, especially during peak usage times. Proper pipe installation prevents this problem.
Thermal expansion causes pipes to move within their mounting brackets, producing squeaking sounds. Hot water supply pipes particularly suffer from this issue as they repeatedly heat and cool.
Air trapped in drainage systems creates gurgling noises, often indicating ventilation problems or blocked drainage pipes. This sound typically occurs near sinks, toilets, or floor drains.

For Basic Soundproofing:
For Advanced Solutions:
Safety Equipment:
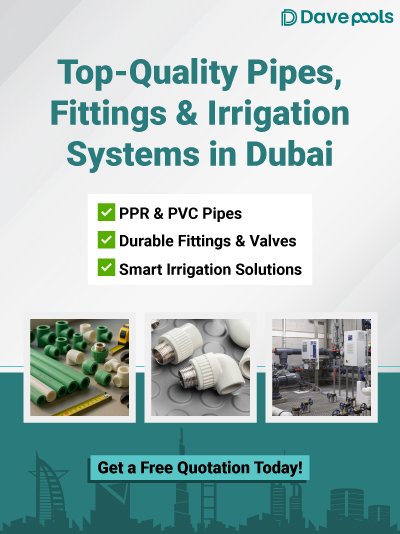
Quality pipes and fittings from reputable suppliers ensure better soundproofing results and longer-lasting solutions.

Pipe insulation serves dual purposes: soundproofing and energy efficiency. This cost-effective solution reduces noise transmission by absorbing vibrations before they reach structural elements.
Step-by-Step Process:
Material Options:
For hot water pipes, select insulation rated for high temperatures (up to 180°F). This method reduces noise by 40-60% when properly installed.

Unsecured pipes account for approximately 35% of plumbing noise complaints. Anchoring pipes eliminates vibration transfer to walls and floors.
Installation Guidelines:
Clamp Types:
For comprehensive plumbing solutions, combining multiple mounting methods provides superior noise reduction. Verify clamp compatibility with your specific pipe material, whether CPVC, PVC, or PPR.

Water hammer arrestors eliminate hydraulic shock by absorbing pressure spikes. These devices function as shock absorbers for your plumbing system.
Installation Process:
Arrestor Types:
Quality soundproof pipe fittings incorporate arrestor technology directly into the system design. Professional installation ensures optimal performance and code compliance.

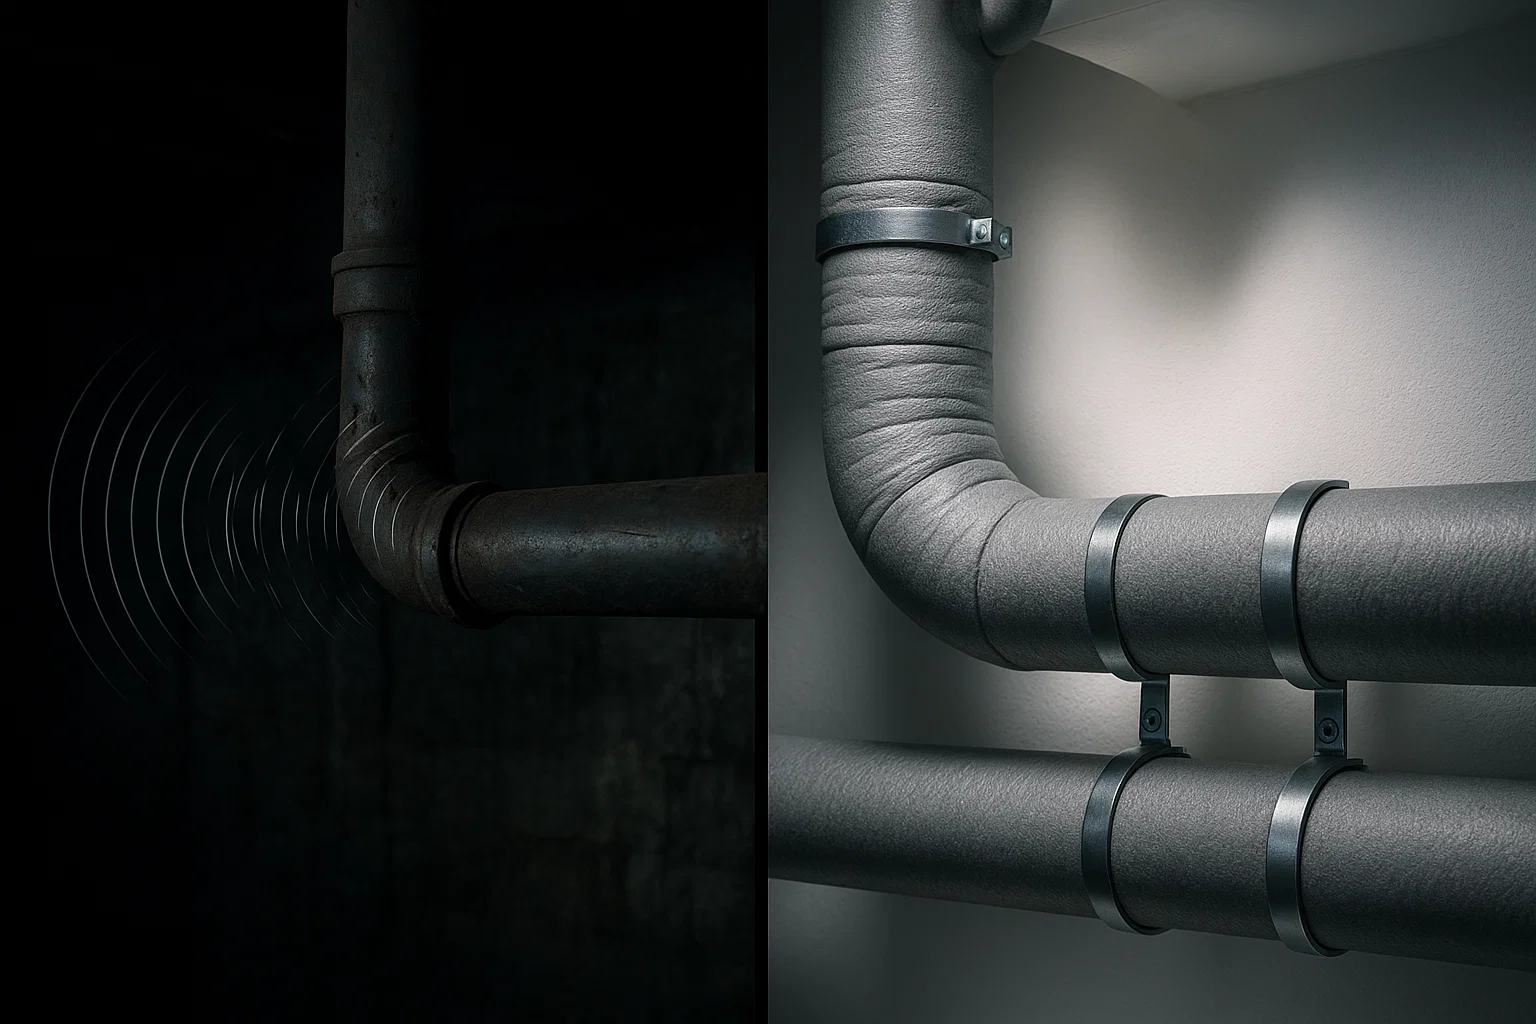
Acoustic lagging provides premium sound isolation through multi-layer dampening technology. This professional-grade solution delivers 70-85% noise reduction.
Application Technique:
Material Specifications:
For industrial applications, acoustic lagging meets strict noise control regulations while providing thermal benefits. This method suits exposed pipes in basements, mechanical rooms, and commercial installations.

Rubber isolation clamps prevent structure-borne noise transmission by creating physical separation between pipes and building elements.
Installation Best Practices:
Advantages:
Combine rubber clamps with proper pipe repair techniques to address both noise and potential leaks simultaneously. Regular inspections ensure clamps maintain proper tension over time.

Treating wall cavities containing pipes provides comprehensive noise control by addressing multiple transmission paths.
Wall Soundproofing Steps:
Advanced Techniques:
This method particularly benefits bathrooms and kitchens where water pressure issues often compound noise problems. Professional contractors achieve STC ratings of 50-60 using comprehensive wall treatments.

Excessive water pressure (above 80 PSI) amplifies all plumbing noises while accelerating wear on fixtures and pipes.
Pressure Management:
Benefits of Proper Pressure:
For complex systems with multiple zones, installing individual zone regulators optimizes performance. Consult professional suppliers for commercial-grade pressure control solutions.
Understanding soundproofing costs helps prioritize solutions and budget effectively.
Budget Breakdown:
| Solution | DIY Cost | Professional Installation | Noise Reduction |
|---|---|---|---|
| Pipe Insulation | $50–200 | $200–500 | 40–60% |
| Securing Pipes | $30–100 | $150–400 | 35–50% |
| Water Hammer Arrestors | $80–300 | $300–800 | 80–95% |
| Acoustic Lagging | $200–600 | $800–2,000 | 70–85% |
| Rubber Clamps | $40–150 | $200–600 | 50–70% |
| Wall Soundproofing | $300–1,500 | $1,500–5,000 | 60–75% |
| Pressure Reduction | $100–400 | $400–1,200 | 60–80% |
Return on Investment:
Most homeowners achieve satisfactory results with $200-500 investment in combined solutions. Professional installation ensures code compliance and warranty protection, particularly for complex plumbing systems.

Maintaining soundproofing effectiveness requires periodic attention and preventive care.
Monthly Checks:
Annual Maintenance:
Professional Inspections: Schedule biannual plumber visits for comprehensive system evaluation. Professional assessment identifies emerging issues before they create noise problems or damage. Regular maintenance extends soundproofing effectiveness by 10-15 years.
Document all maintenance activities and keep records of materials used for future reference. This information proves valuable when troubleshooting new noise issues or planning system upgrades.

While many soundproofing projects suit DIY enthusiasts, certain situations demand professional expertise.
Call a Professional For:
Professional Advantages:
Reputable plumbing suppliers maintain networks of certified installers experienced in soundproofing applications. Request multiple quotes and verify credentials before hiring contractors.
Pipes create noise primarily through water hammer (pressure spikes), loose mounting causing vibration, excessive water pressure, thermal expansion, and air trapped in drainage systems. Understanding the specific noise type helps determine the appropriate soundproofing solution.
Yes, proper pipe insulation reduces noise transmission by 40-60% through vibration absorption and dampening. Foam or fiberglass wrapping prevents sound waves from traveling through pipes into walls and floors, providing both acoustic and thermal benefits.
Install water hammer arrestors near appliances causing sudden pressure changes. These devices absorb hydraulic shock through air chambers or mechanical pistons. Additionally, reducing water pressure below 80 PSI and securing loose pipes helps minimize water hammer effects.
Rubber-lined pipe clamps effectively reduce noise by 50-70% through vibration isolation. They prevent direct metal-to-structure contact that amplifies sound. Proper spacing (every 4-6 feet) and allowing slight movement for thermal expansion maximizes effectiveness.
Pipe insulation primarily provides thermal control with moderate sound dampening, while acoustic lagging specifically targets noise reduction through dense, multi-layer materials. Acoustic lagging achieves 70-85% noise reduction compared to 40-60% from standard insulation.
Reducing pressure from excessive levels (above 80 PSI) to optimal range (45-60 PSI) rarely affects shower performance negatively. Most fixtures operate efficiently at lower pressures while reducing noise, extending lifespan, and conserving water without compromising comfort.
Yes, accessible pipe sections can be soundproofed without wall removal through insulation wrapping, rubber clamps, and arrestor installation. However, treating pipes within wall cavities for maximum noise reduction requires drywall access for proper material placement.
Quality soundproofing installations last 15-25 years with minimal maintenance. Foam insulation may require replacement after 10-15 years, while mechanical solutions like clamps and arrestors last 20+ years. Regular inspections extend effectiveness significantly.
PPR (Polypropylene Random) pipes and HDPE pipes produce significantly less noise than metal pipes due to their sound-dampening properties. Plastic materials absorb vibrations rather than amplifying them like copper or steel.
Soundproofing noisy pipes transforms your living environment from chaotic to peaceful while protecting your plumbing system from damage. By implementing the seven proven methods outlined in this guide—from simple insulation wrapping to comprehensive pressure management—you can achieve 70-95% noise reduction. Whether tackling projects yourself or hiring professionals, addressing pipe noise improves property value, reduces stress, and prevents costly repairs.
Start with basic solutions like securing loose pipes and adding insulation, then progress to advanced techniques based on results. Remember that combining multiple methods typically delivers superior outcomes compared to single-solution approaches. Regular maintenance ensures long-lasting silence and optimal system performance.
For quality soundproof pipes and fittings or expert guidance on your specific situation, consult experienced suppliers who understand the science of acoustic control. Invest in proper soundproofing today to enjoy decades of peaceful, efficient plumbing performance.
Ready to silence your noisy pipes? Visit Dave Pools for premium soundproofing solutions and expert consultation on all your plumbing needs.