
Your pool’s water clarity is suffering, circulation feels weak, and your energy bills are creeping up. The culprit? A dirty cartridge filter that’s silently sabotaging your pool’s performance. Ignoring this critical maintenance task can lead to cloudy water, increased chemical costs, equipment damage, and even complete filtration system failure. This comprehensive guide reveals exactly how to clean a pool cartridge filter properly, helping you restore crystal-clear water while extending your equipment’s lifespan and saving money on replacements.
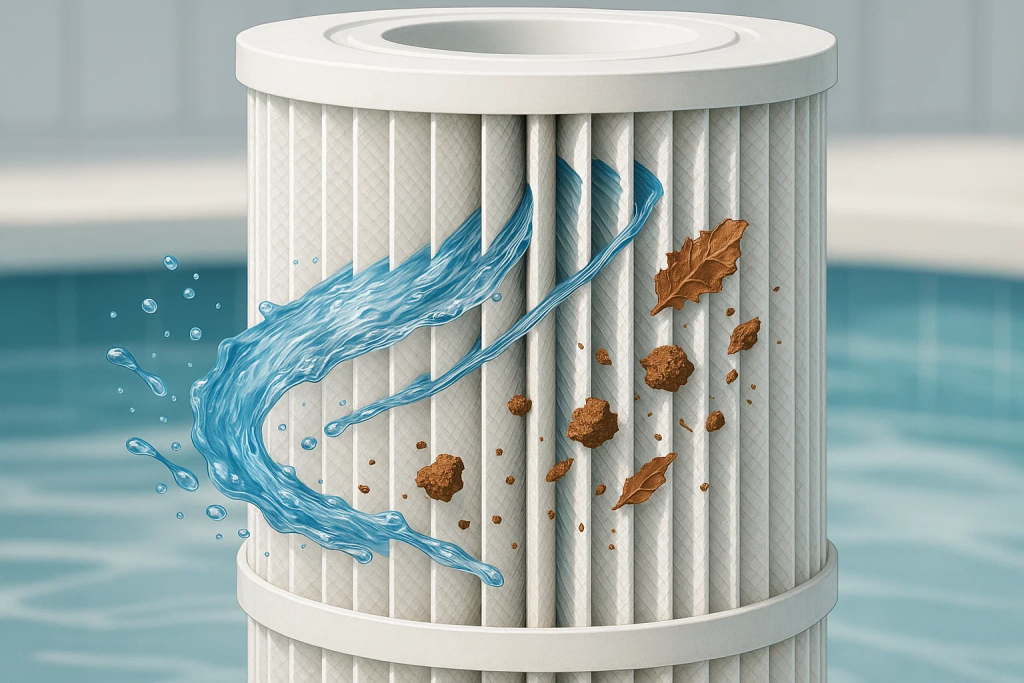
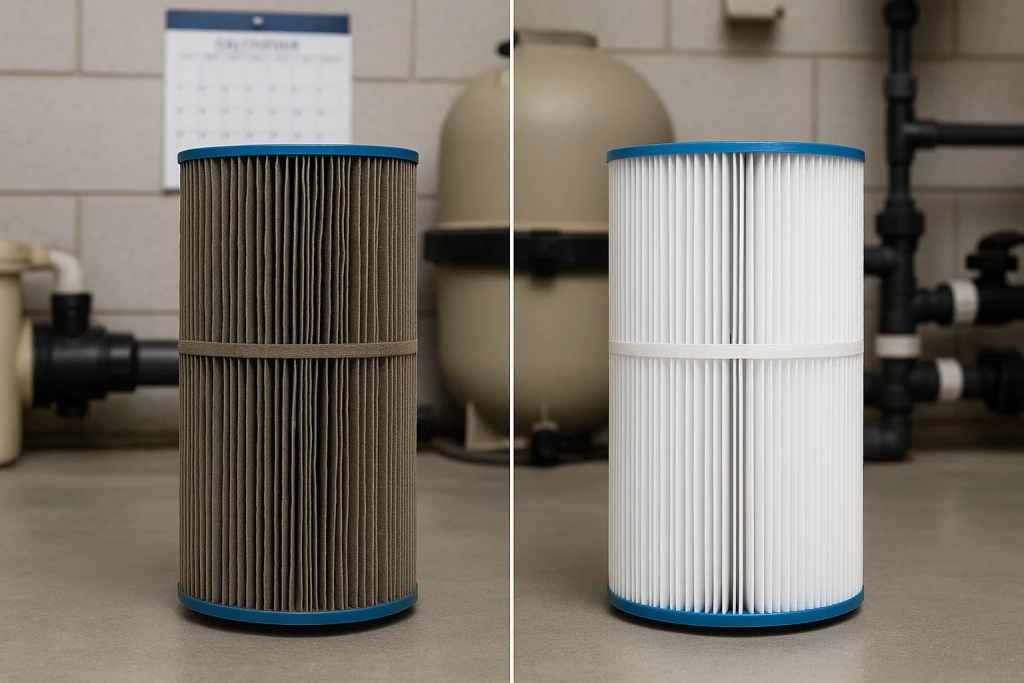
Pool cartridge filters are one of the most efficient filtration systems available for residential swimming pools. Unlike sand or DE (diatomaceous earth) filters, cartridge filters use pleated polyester fabric to trap debris, contaminants, and microscopic particles as small as 10-15 microns.
The filtration process is remarkably straightforward. Water from your pool flows through your swimming pool equipment system and passes through the pleated filter cartridge. The polyester material captures dirt, oils, sunscreen, pollen, and other contaminants while allowing clean water to return to your pool.
Cartridge filters offer several compelling benefits that make them increasingly popular among pool owners:
According to industry data, cartridge filters can reduce water consumption by up to 95% compared to traditional sand filters, making them an excellent choice for environmentally conscious pool owners. When properly maintained, they work seamlessly with other water management solutions to keep your pool pristine.
Recognizing when to clean a pool cartridge filter is crucial for maintaining optimal pool performance. Here are the telltale indicators that demand immediate attention:
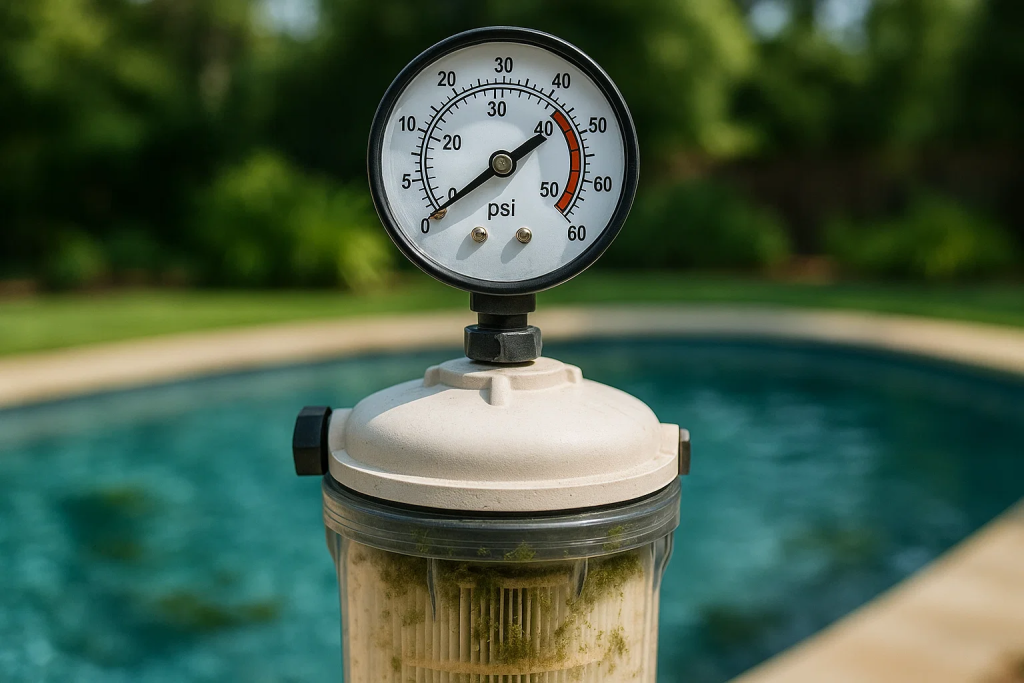
The pressure gauge on your filter housing is your first warning system. When the pressure increases 8-10 PSI above the clean filter baseline (typically noted on your initial installation), it’s time for cleaning. This pressure buildup indicates that debris accumulation is restricting water flow through the cartridge pleats.
If you notice your pool water becoming cloudy or hazy despite balanced chemistry, your filter is likely saturated with contaminants. Diminished water clarity is a direct result of reduced filtration efficiency.
Weaker return jet pressure or decreased circulation indicates that your filter can no longer process water effectively. This reduced flow can impact the performance of your entire pool equipment system, including heaters and chlorinators.
If your pump is running longer to maintain water quality, or if you’re experiencing frequent cycling, your filter is working harder than necessary due to clogging.
When you remove the cartridge, look for:
Pro Tip: Most pool professionals recommend checking your cartridge filter every 4-6 weeks during swimming season, and cleaning when pressure rises 8-10 PSI or when you notice any of the above symptoms.
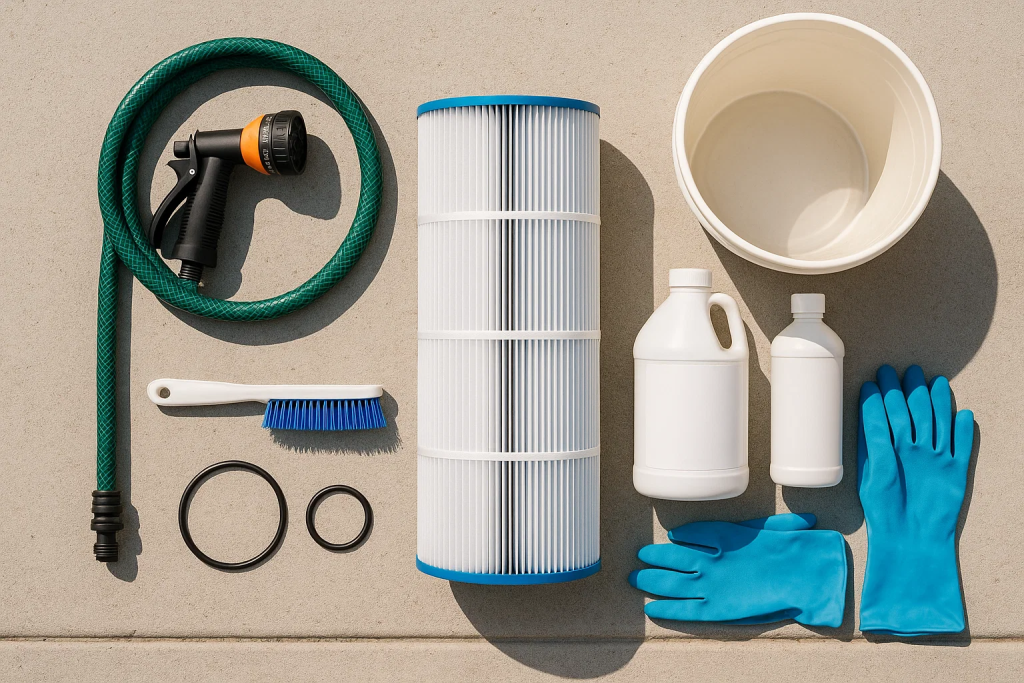
Gathering the right supplies before you begin ensures a smooth, efficient cleaning process. Here’s your complete checklist:
You’ll need one or more of these cleaning agents:
Safety Note: When working with PVC pipes and fittings in your filter system, always turn off the pump and release pressure before disassembly. If you need to work with pool plumbing, understanding how to glue PVC pipe properly ensures leak-free repairs.

Follow this proven method to clean a pool cartridge filter effectively and safely:
Safety comes first. Switch off your pool pump at the breaker or timer to prevent accidental activation during the cleaning process. This eliminates any risk of equipment damage or personal injury.
Locate the air relief valve on top of your filter housing and slowly open it. You’ll hear a hissing sound as trapped air escapes. Wait until all pressure is released before proceeding. This typically takes 30-60 seconds.
Carefully remove the clamp band or loosen the housing bolts (depending on your filter model). Some cartridge filters use a quick-release mechanism. Consult your owner’s manual if you’re unsure about your specific model.
Lift the filter housing lid straight up and set it aside on a clean surface. Be prepared for some water spillage. Having towels nearby is recommended.
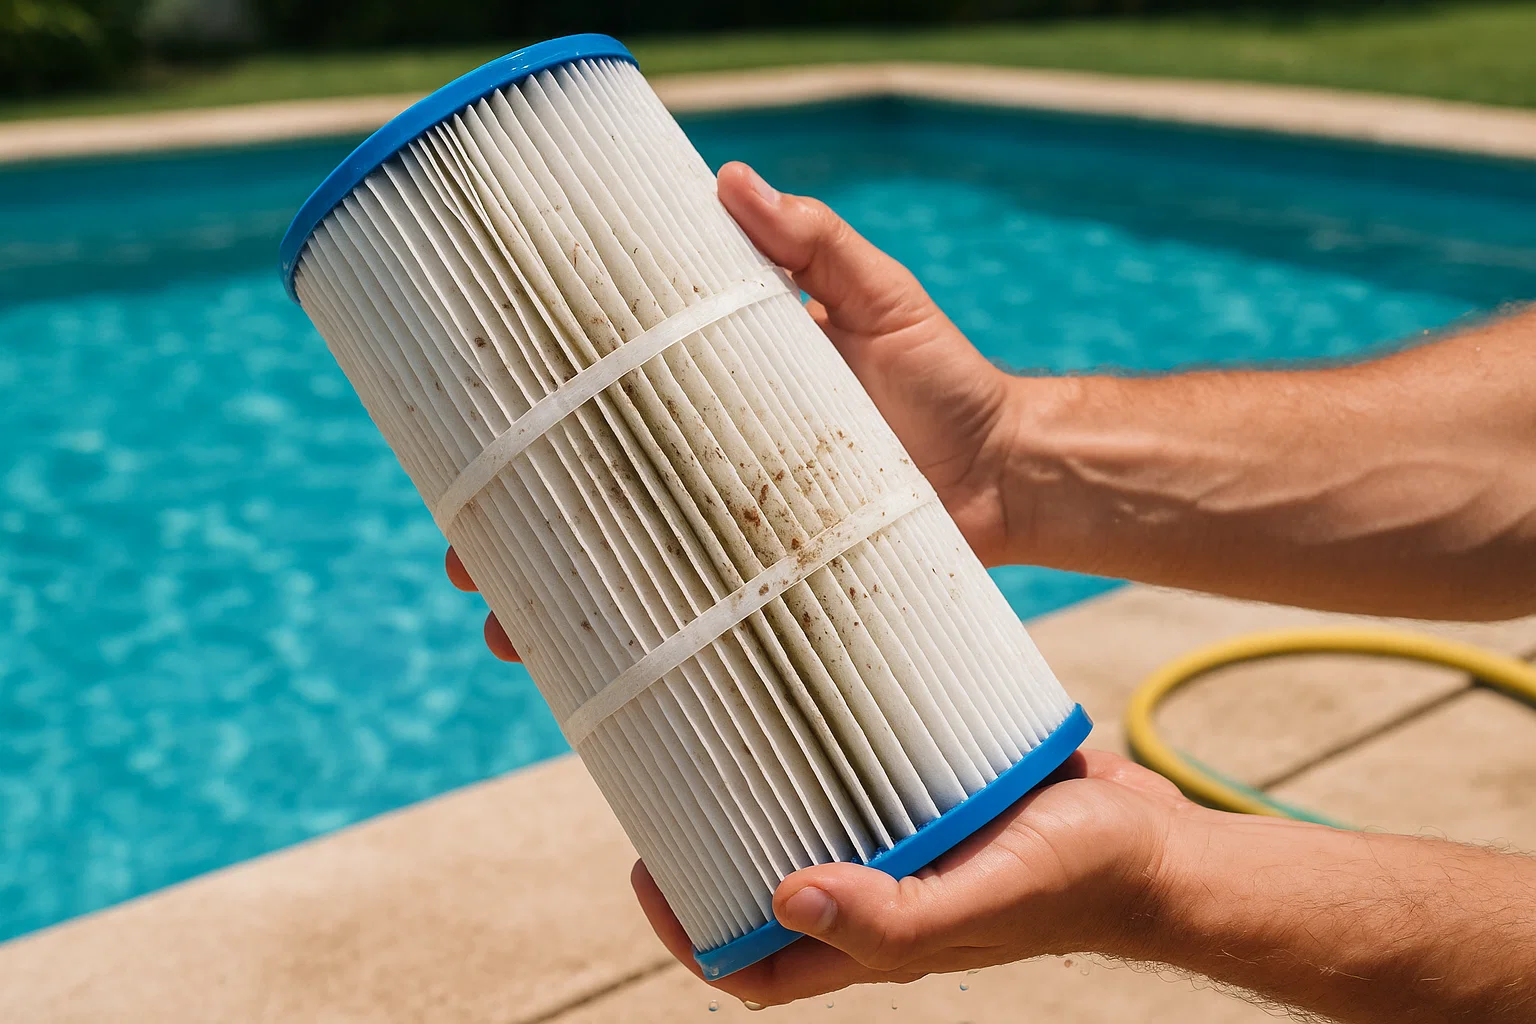
Grasp the cartridge handle firmly and pull straight up to extract it from the housing. The cartridge may be heavy when saturated with water, so maintain a secure grip.
Inspect the housing base for accumulated debris, leaves, or sediment. Remove any visible debris before proceeding. This prevents re-contamination when you reinstall the cleaned cartridge.
Take the cartridge outdoors to your designated cleaning area. Using your garden hose with a high-pressure spray nozzle, rinse the cartridge from top to bottom. Work systematically:
This initial rinse typically removes 60-70% of accumulated debris.
After the initial rinse, use a filter cleaning brush or cartridge comb to remove stubborn particles:
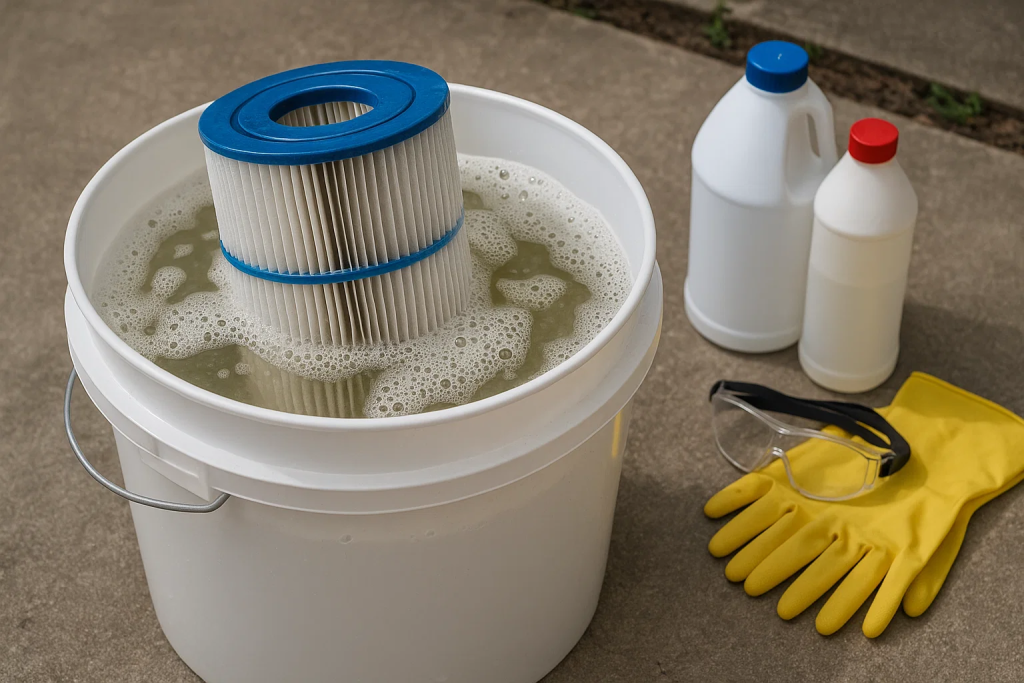
For filters with oil buildup, algae, or mineral deposits, a chemical soak is essential:
Pro Tip: Never mix different cleaning chemicals. This can create dangerous reactions and damage your filter.
After soaking, thoroughly rinse the cartridge with fresh water to remove all cleaning solution residue:
Before reinstalling, examine critical components:
Quality replacement parts compatible with swimming pool equipment ensure optimal performance.
Carefully reassemble your filter system:
Monitor for leaks during the first few minutes of operation. If you notice water escaping from the housing, shut down immediately and check the o-ring seal.
Standard rinsing isn’t always enough to restore optimal filter performance. When your cartridge shows persistent discoloration or reduced flow even after regular cleaning, these deep cleaning techniques can revitalize your filter:
Calcium and mineral buildup from hard water creates a white, chalky coating that restricts water flow. An acid wash effectively dissolves these deposits:
Materials Needed:
Acid Wash Procedure:
Safety Warning: Only perform acid washes in outdoor areas with excellent ventilation. Never breathe acid fumes. If you’re uncomfortable with this process, consider professional filter cleaning services.
Sunscreen, body oils, and organic matter create a greasy film that water alone can’t remove. Trisodium phosphate (TSP) excels at breaking down these compounds:
TSP Cleaning Method:
TSP is particularly effective after heavy pool usage or parties when sunscreen and oil contamination is high.
Specialized cartridge filter cleaners are formulated to tackle multiple contaminant types simultaneously:
Follow manufacturer instructions carefully for concentration and soak time. Most commercial cleaners require 12-24 hours of soaking for optimal results.
Low-pressure washing can accelerate cleaning but requires careful technique:
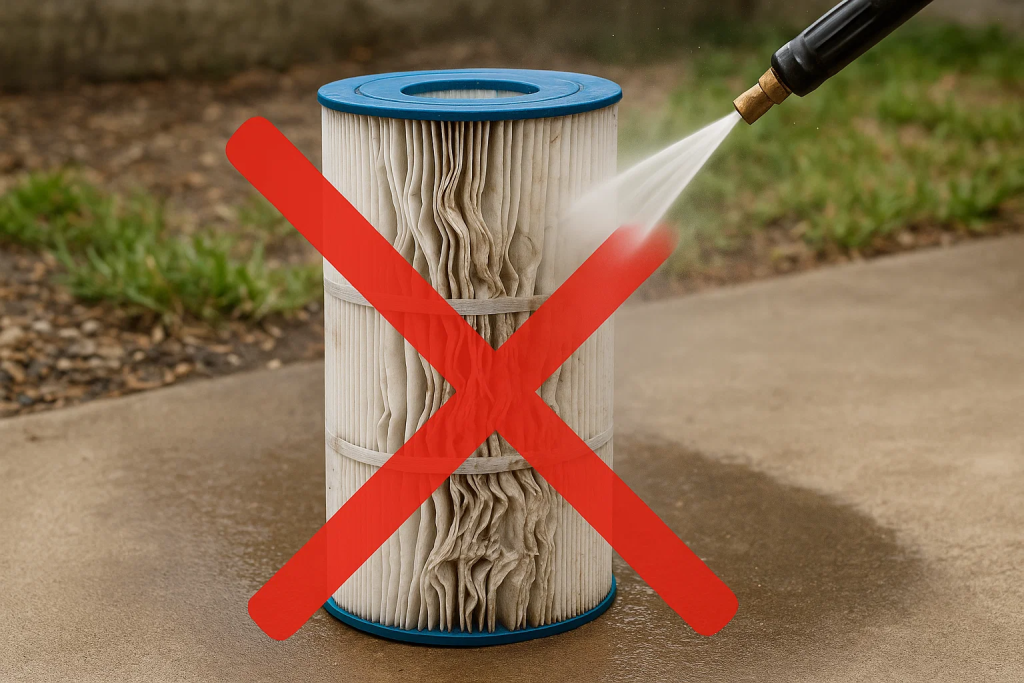
Important: Over-aggressive pressure washing is one of the leading causes of premature filter replacement. When in doubt, stick with standard hose pressure.
For severely contaminated cartridges, professional pool service companies offer ultrasonic cleaning that uses high-frequency sound waves to dislodge microscopic particles without physical contact. This method is highly effective but requires specialized equipment.
Proper ongoing maintenance dramatically extends filter life and maintains peak performance. Implement these professional-grade practices:
How often should you clean a pool cartridge filter? The answer depends on several factors:
Pro Tip: Many pool professionals recommend having two cartridge filters that you rotate. While one filter is being cleaned and dried, the other maintains your pool’s filtration. This practice ensures you always have a properly cleaned filter available and extends the lifespan of both cartridges.
Spring Opening:
Summer Peak Season:
Fall Closing:
Winter Maintenance:
Your pressure gauge is your filter’s health monitor. Document these readings:
Create a simple log: “Clean Filter Date: [Date] | PSI: [Reading] | Next Cleaning Due: [Date + 4 weeks]”
Balanced pool chemistry reduces filter contamination:
Poor water chemistry not only clouds your pool but also accelerates filter degradation. Learn more about maintaining crystal-clear pool water through proper chemical balance.
Proper filter storage prevents damage:
The o-ring seal is critical for preventing leaks:
For pools using PPR pipes and fittings or other modern plumbing materials, maintaining proper seals throughout your system ensures optimal performance.
Even experienced pool owners make these critical errors that can damage filters or reduce effectiveness:
High-pressure washing is the number one cause of premature filter failure. While it seems logical that higher pressure cleans better, it actually:
Solution: Use standard garden hose pressure or a pressure washer set below 30 PSI. If debris won’t rinse off easily, use a chemical soak instead of more pressure.
Water alone cannot remove oils, minerals, and microscopic contaminants. Pool owners who only rinse with water end up with:
Solution: Perform chemical soaks quarterly or whenever you notice reduced water flow after standard cleaning.
Waiting until your pool water is cloudy means you’ve waited too long. By then:
Solution: Clean based on pressure gauge readings (8-10 PSI increase) rather than water appearance. Proactive maintenance prevents problems before they become visible.
Surprisingly, cleaning too often also causes problems:
New filters actually perform better after initial “break-in” period when some debris remains in the pleats. This creates finer filtration. Only clean when pressure indicates it’s necessary.
Solution: Trust your pressure gauge and follow the 8-10 PSI increase rule.
Never combine different cleaning chemicals in the same cleaning session:
Solution: Use one cleaning method per session. If switching chemicals, thoroughly rinse the filter between applications.
A damaged o-ring causes air leaks, pressure loss, and filtration failures:
Solution: Inspect, clean, lubricate, and replace o-rings regularly. Keep spares on hand. Just as you would properly maintain PVC pipe fittings in your pool plumbing, treat o-rings as critical maintenance items.
Installing a wet filter after storage invites:
Solution: Allow filters to dry completely (24-48 hours) in a clean, well-ventilated area before storage or reinstallation.
Attempting to salvage a filter beyond its lifespan costs more in the long run:
Solution: Replace filters when you notice torn pleats, permanent discoloration that won’t clean, crushed pleats, or when they no longer hold proper pressure after cleaning.
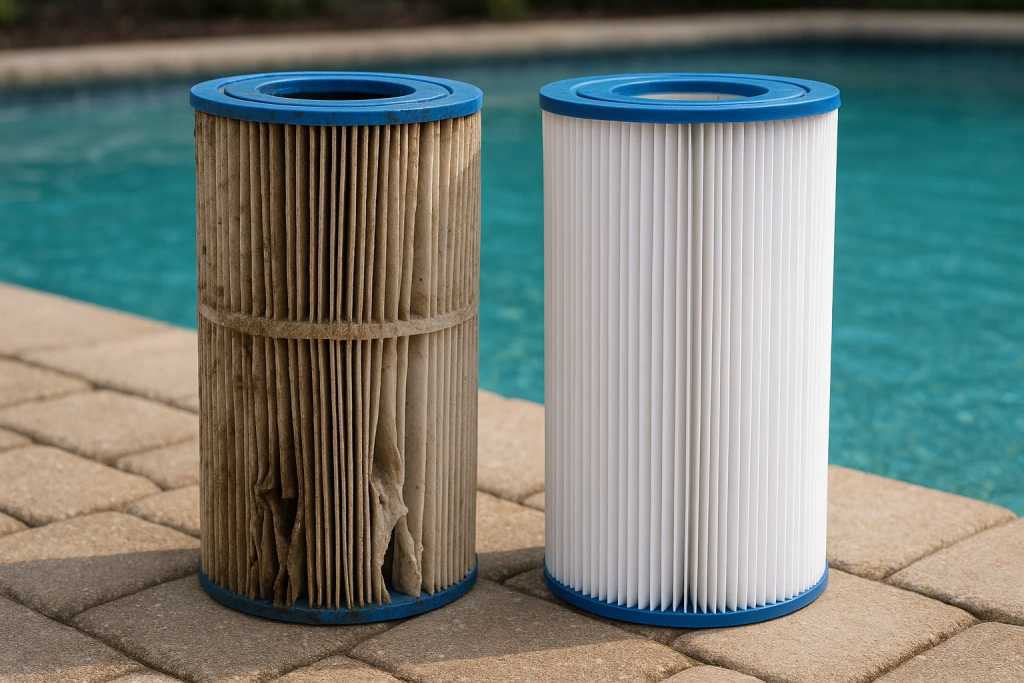
Even with perfect maintenance, cartridge filters eventually need replacement. Recognizing when to replace versus clean saves money and ensures optimal pool water quality:
Immediately replace your filter if you observe:
Replace when cleaning no longer restores performance:
Typical cartridge filter lifespan ranges from 2-5 years depending on:
Professional Recommendation: Replace residential cartridge filters every 3 years regardless of appearance. The microscopic fabric degradation that occurs over time isn’t always visible but significantly impacts filtration effectiveness.
Consider replacement when:
A $150-300 replacement filter investment often saves $50-100 monthly in chemicals and energy, making it financially prudent.
When purchasing a replacement:
Upgrade Consideration: If you’re experiencing recurring issues, consult with professionals who offer comprehensive water management solutions to evaluate whether your entire filtration system needs upgrading.
Clean your cartridge filter when the pressure gauge reads 8-10 PSI above the baseline clean pressure. For most residential pools, this translates to cleaning every 4-6 weeks during swimming season. High-use pools may require cleaning every 2-3 weeks, while low-use pools might extend to 6-8 weeks. Always prioritize pressure readings over arbitrary schedules for optimal results.
Yes, but with extreme caution. Only use low pressure (under 30 PSI) and maintain at least 6 inches distance from the pleats. High-pressure washing tears the delicate filter fabric and dramatically shortens filter lifespan. Garden hose pressure is actually safer and often equally effective, especially when combined with proper chemical soaking for stubborn deposits.
The best chemical depends on the type of contamination. For general cleaning, commercial cartridge filter cleaners work excellently. For mineral deposits and calcium buildup, muriatic acid solution (1:4 ratio with water) is most effective. TSP (trisodium phosphate) excels at removing oils, sunscreen, and organic matter. Never mix different chemicals, and always rinse thoroughly after chemical treatments.
Most commercial cleaners require 8-12 hours of soaking, though overnight (12-24 hours) provides optimal results for heavily soiled filters. Acid washes require only 15-30 minutes due to their aggressive action. TSP treatments work best with 8-12 hour soaks. Always follow manufacturer recommendations for commercial products and ensure complete rinsing afterward.
While some pool owners attempt in-housing cleaning, it’s not recommended for thorough maintenance. Removing the cartridge allows you to inspect all pleats, reach both inside and outside surfaces, properly soak in cleaning solutions, check for damage, and ensure complete debris removal. The minimal effort of removing the cartridge yields significantly better cleaning results.
Rapid pressure increase after cleaning indicates several possible issues: incomplete cleaning (debris remains deep in pleats), damaged filter allowing bypass, undersized filter for your pool volume, clogged pool skimmer or pump basket, or excessive contamination source (heavy tree debris, algae bloom). Check these potential causes systematically to identify the root problem.
Yes, some permanent discoloration is normal and doesn’t necessarily indicate the filter needs replacement. Repeated exposure to pool chemicals, minerals, and organic matter causes fabric staining. However, if the filter feels slippery or greasy after cleaning, has black or green algae staining that won’t remove, or shows significantly reduced flow despite cleaning, replacement may be necessary.
While diluted bleach can kill bacteria and algae, it’s not ideal for cartridge filter cleaning. Bleach can degrade filter fabric over time and doesn’t effectively remove oils or mineral deposits. Commercial filter cleaners, TSP, or muriatic acid solutions are more effective and specifically designed for filter materials. If using bleach, dilute heavily (1 cup per 5 gallons) and rinse extremely thoroughly.
After reassembly, check for proper sealing by: ensuring the o-ring is clean, lubricated, and properly seated in its groove; verifying the housing lid closes evenly without gaps; tightening clamp bands or bolts uniformly; observing no water leaks during initial startup; and confirming pressure gauge readings are normal. Any water seepage indicates improper sealing requiring immediate shutdown and inspection.
Never run the pump with the filter removed. This causes cavitation (air bubbles) that damage pump seals and impellers, allows debris to recirculate, and can overheat the pump. Always shut down the pump completely before removing the filter cartridge. Similarly, when working with pool plumbing and pipes, ensure systems are properly shut down to prevent damage.
Yes, severely clogged filters force your pump to work harder, increasing wear on motor bearings, seals, and impellers. This increased workload raises energy consumption, shortens pump lifespan, and can lead to premature pump failure. Regular filter cleaning protects your entire circulation system and saves money on equipment replacement and energy costs.
Most cartridge filters contain no hazardous materials and can be disposed of with regular trash. However, check local regulations as some areas have specific disposal requirements for pool equipment. Some recycling facilities accept the plastic components. Before disposal, rinse thoroughly to remove chemical residues. Consider donating functional used filters to pool service training programs.
No, seasonal filter changes aren’t necessary for residential pools. However, having two filters that you rotate allows one to dry and rest while the other operates, extending both filters’ lifespans. Some pool owners keep a “winter” filter specifically for off-season maintenance, but this isn’t required. Proper cleaning and storage of your standard filter suffices for year-round use.
Mastering how to clean a pool cartridge filter is essential for maintaining crystal-clear water, protecting your investment in pool equipment, and ensuring safe, enjoyable swimming conditions. By following the comprehensive step-by-step process outlined in this guide from recognizing cleaning indicators and gathering proper supplies to implementing deep cleaning techniques and avoiding common mistakes you’ll extend your filter’s lifespan significantly while optimizing your pool’s performance.
Remember these critical takeaways: Clean when pressure increases 8-10 PSI above baseline, use appropriate chemical soaks quarterly for deep cleaning, never use excessive water pressure, maintain your o-ring seals diligently, and replace filters showing physical damage or performance degradation. Regular maintenance saves money on chemicals, energy costs, and premature equipment replacement while ensuring your pool remains the inviting oasis you desire.
Whether you’re managing swimming pool equipment for a residential backyard pool or maintaining a larger facility, proper filter maintenance stands as the cornerstone of water quality management. Implement these professional practices today to enjoy cleaner water, lower operating costs, and extended equipment life.
For comprehensive pool maintenance solutions, quality replacement filters, or professional consultation on your pool’s filtration system, explore the full range of water management solutions and pool equipment available to keep your swimming pool in peak condition year-round.
Your pool deserves the best care, start with a properly maintained filter, and crystal-clear water will follow.